Fall Living Room Lighting Ideas for Bay Area Homes
Before you repaint, adjust the light for clearer listing photos and more comfortable evening showings.

Fall Living Room Lighting Ideas for Bay Area Homes
Before you repaint, adjust the light for clearer listing photos and more comfortable evening showings.
Before you repaint, test what the light is doing
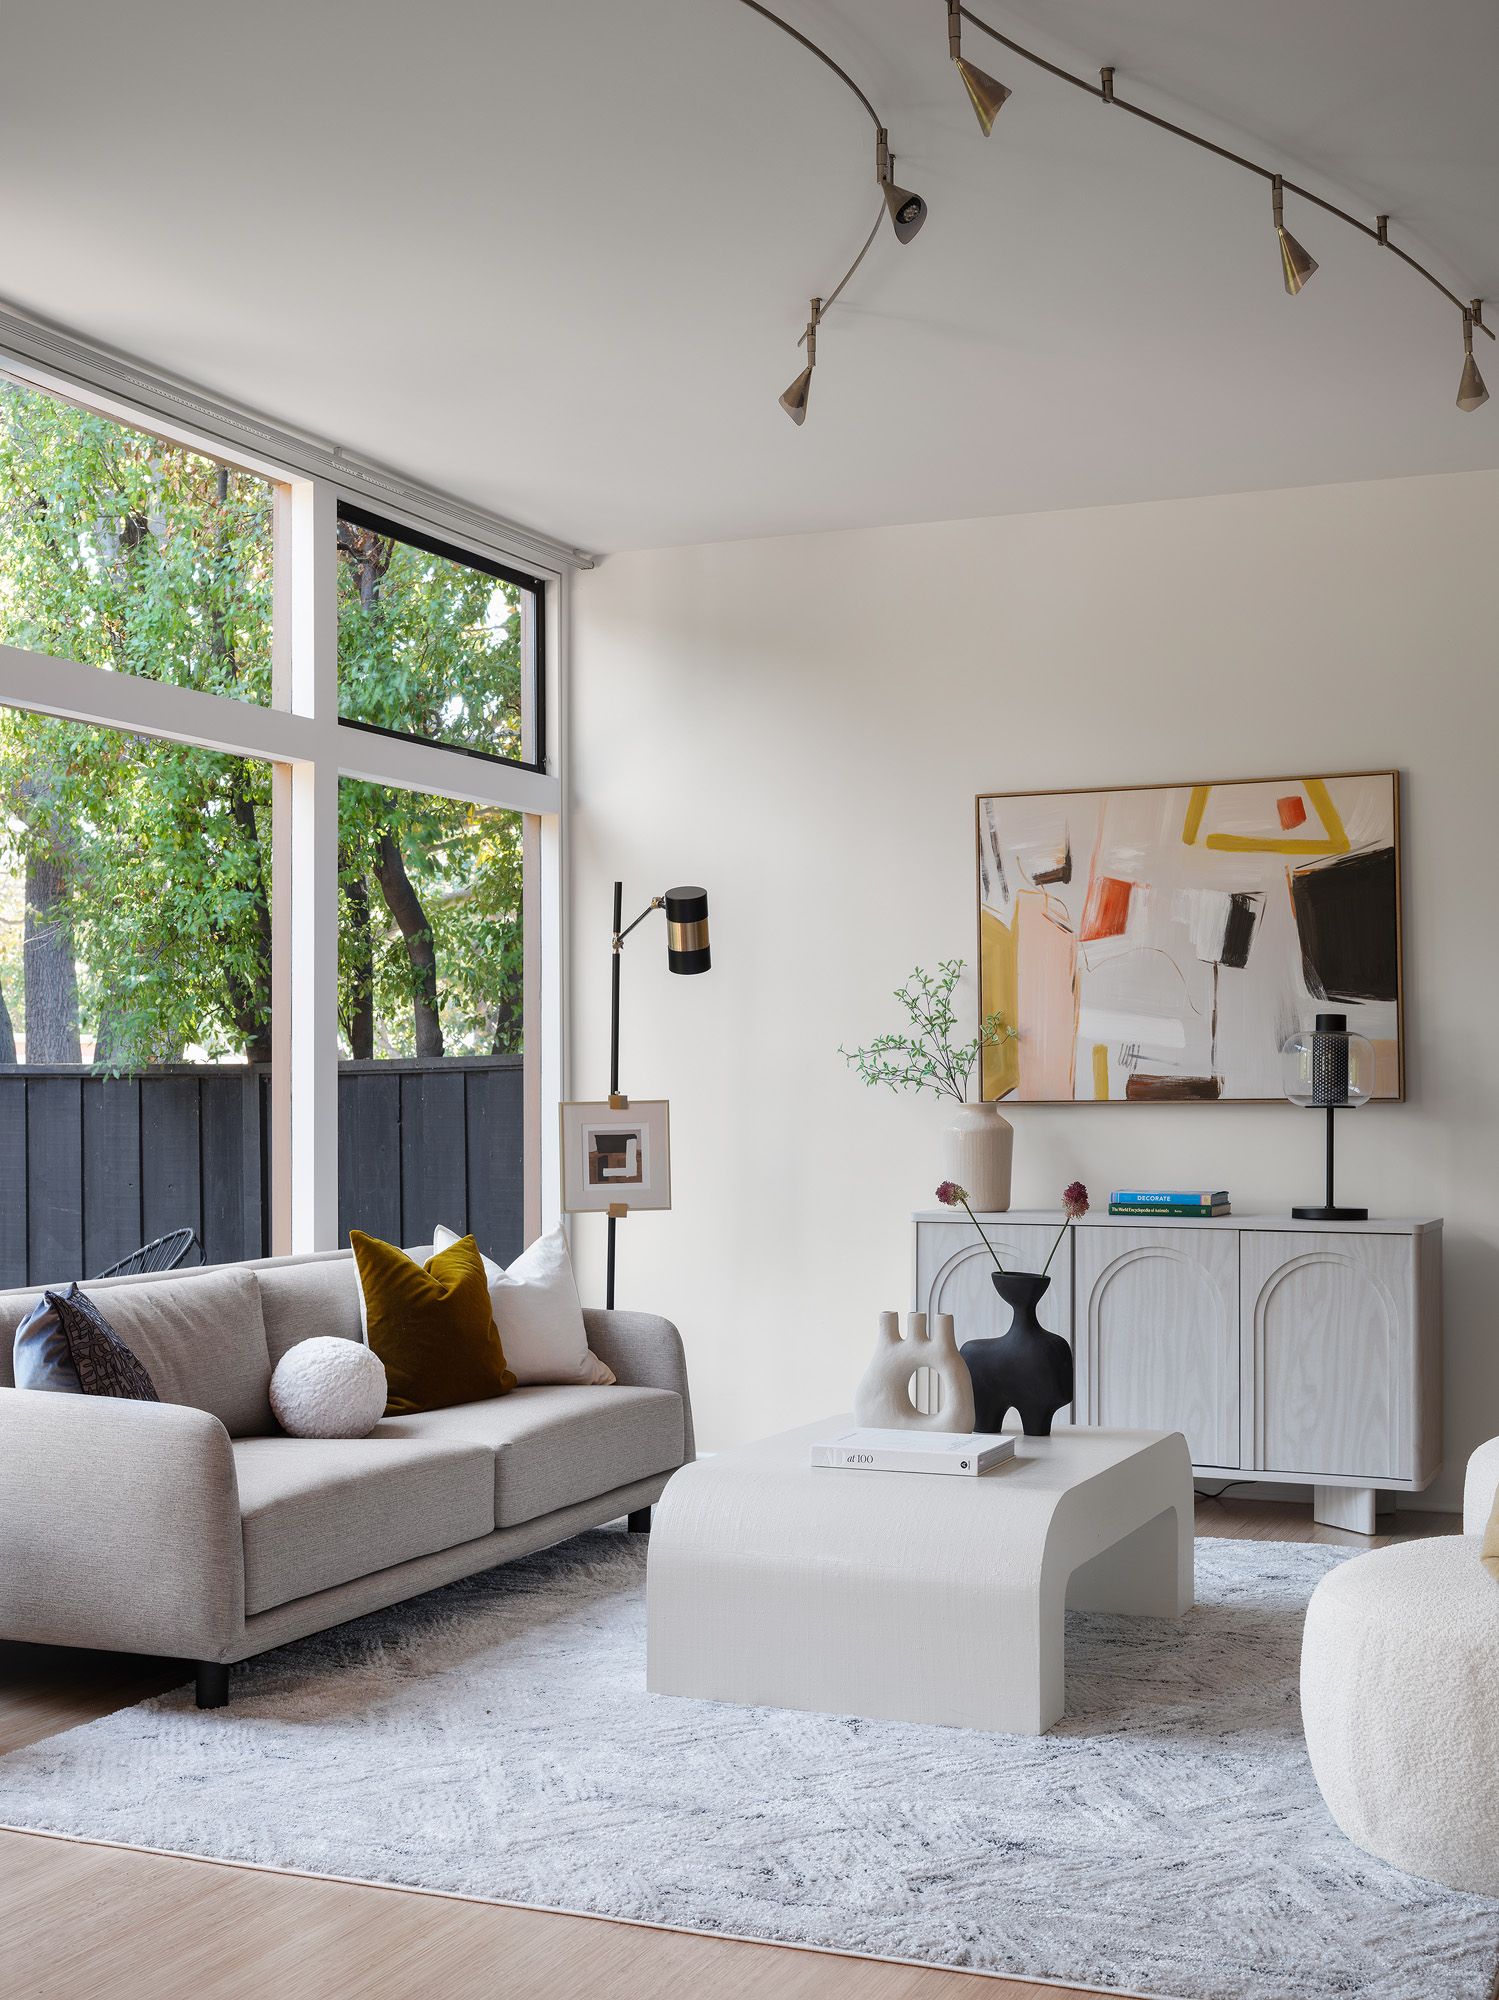
The sofa looks inviting beside the window, but the opposite wall turns muddy by late afternoon. You switch on the ceiling fixture. Now the coffee table shines while the seating area still feels dim. If that sounds familiar, start with living room lighting ideas that address where light lands, rather than reaching straight for paint samples.
For Bay Area homeowners preparing for fall showings, shorter daylight hours make that distinction useful. A room might look comfortable during your morning routine and feel noticeably darker when a buyer arrives after work. The wall color hasn't changed. The balance between daylight and electric light has.
Our position is simple: test the lighting before you authorize a repaint. Paint can help when a finish absorbs too much light or looks worn, but it can't illuminate a shaded corner. Changing the color without addressing the light may leave you with the same problem on freshly painted walls.
Start by looking at the room from the doorway, then sit on the sofa. Notice the darkest surfaces, any exposed bulbs, and whether furniture interrupts the window light. Those observations give you a more useful starting point than buying the brightest lamp you can find.
Test the lighting before you authorize a repaint.
Read the room in daylight and after sunset
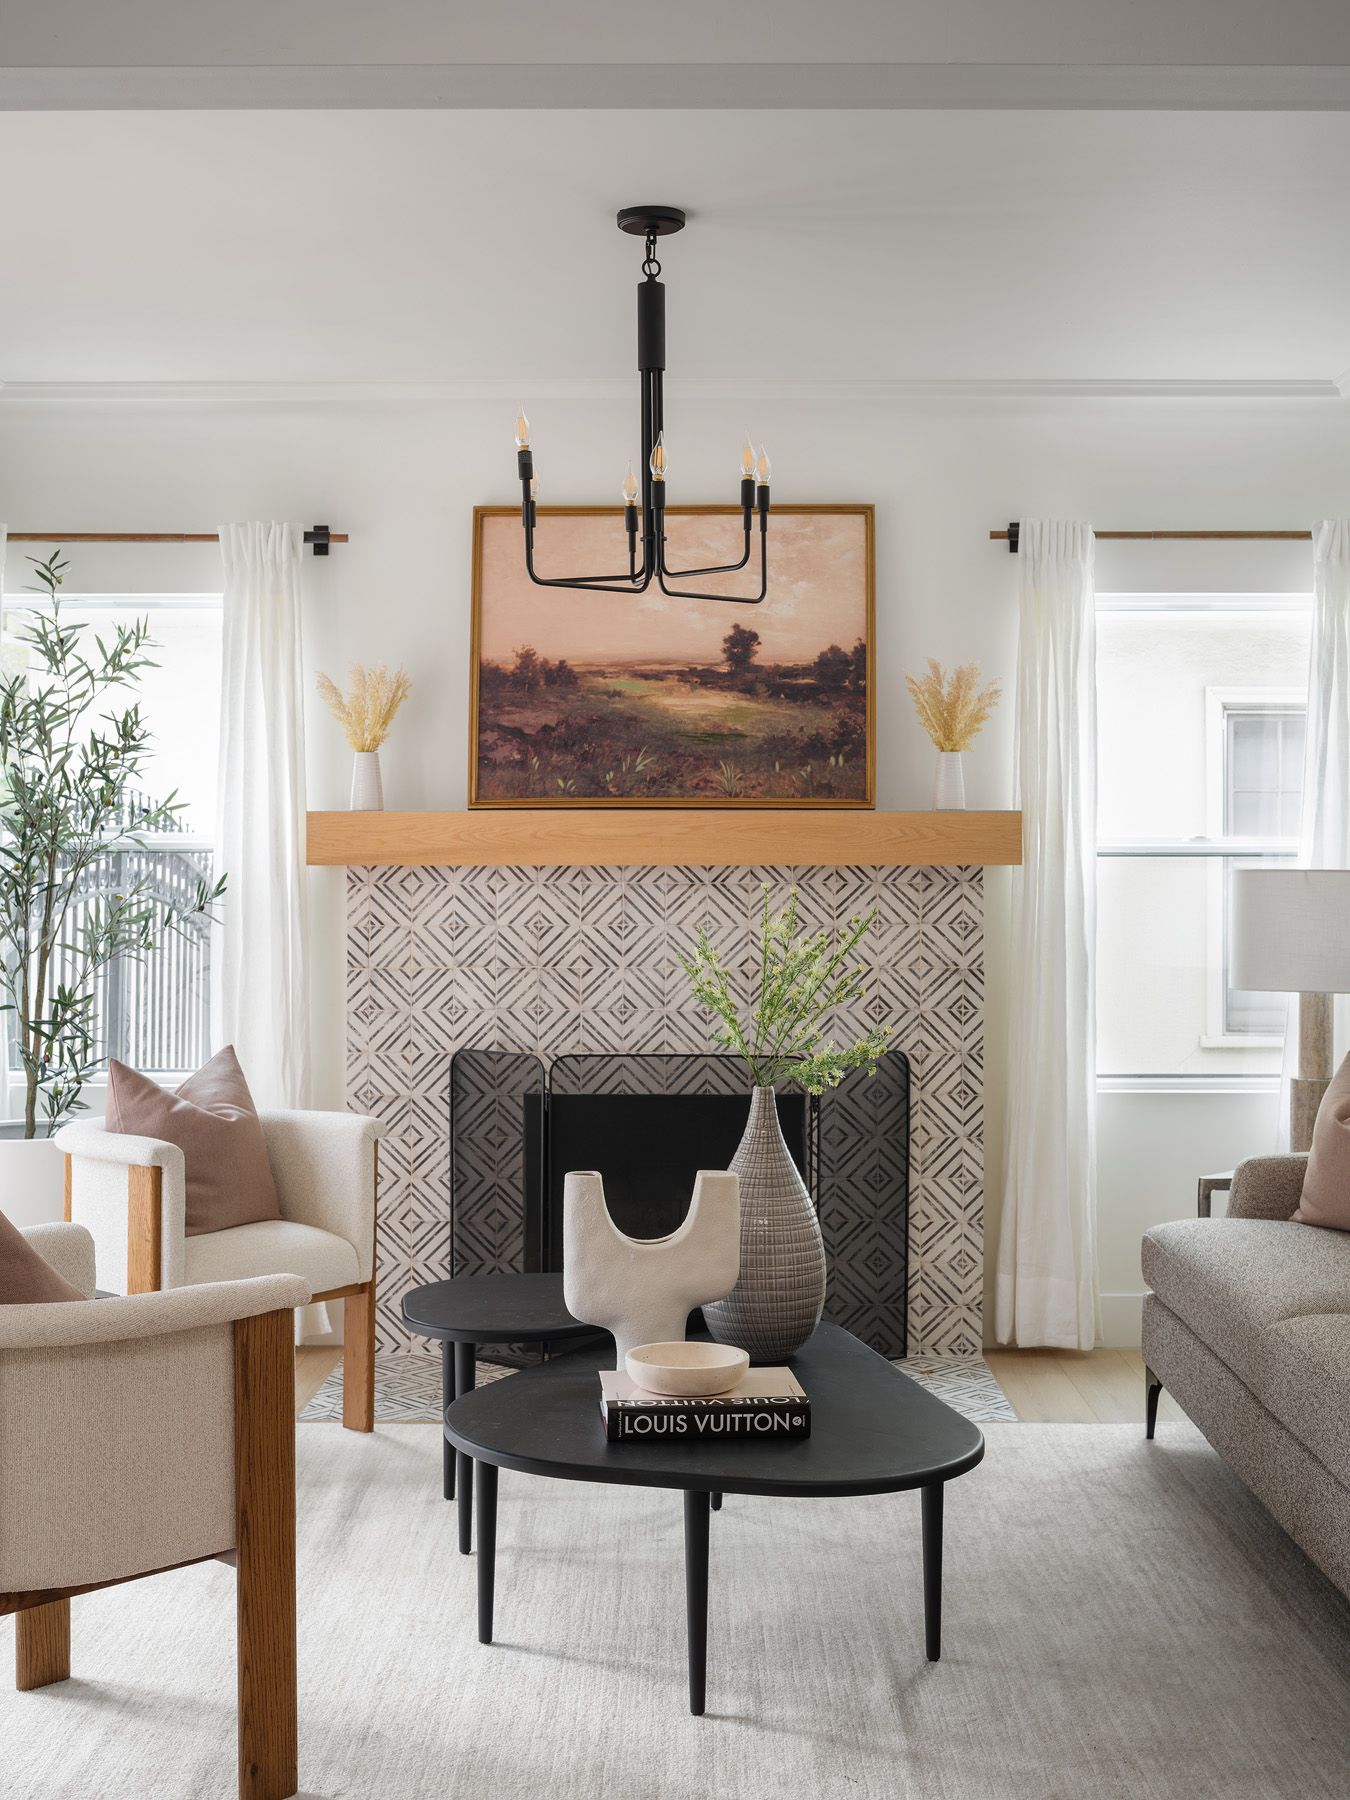
If you're deciding how to brighten a dark living room, inspect it under the conditions buyers will actually encounter. Look during the planned photography window and again after sunset. A deep room with windows at one end needs a different approach from a shallow room shaded by trees.
During daylight, open the window coverings and check the glass for dirt or streaks. Pull heavy drapery clear of the glazing where possible. If direct sun creates a harsh patch across the upholstery, try a sheer curtain to soften it rather than closing an opaque panel and darkening the whole room.
Next, identify what blocks the available light. A tall cabinet beside a window can shade adjacent seating. A bulky chair may crowd the brightest corner without making good use of it. Try a modest furniture adjustment before adding another fixture, while keeping a clear route through the room.
After dark, switch on each existing light separately. Look for a ceiling fixture that produces a small bright pool, a shade that absorbs most of the bulb's output, or a lamp hidden behind furniture. Make a short list of what needs help: the seating, the far wall, or the path from the entry. Each calls for a different placement.
Layer light around the seating, not just the ceiling
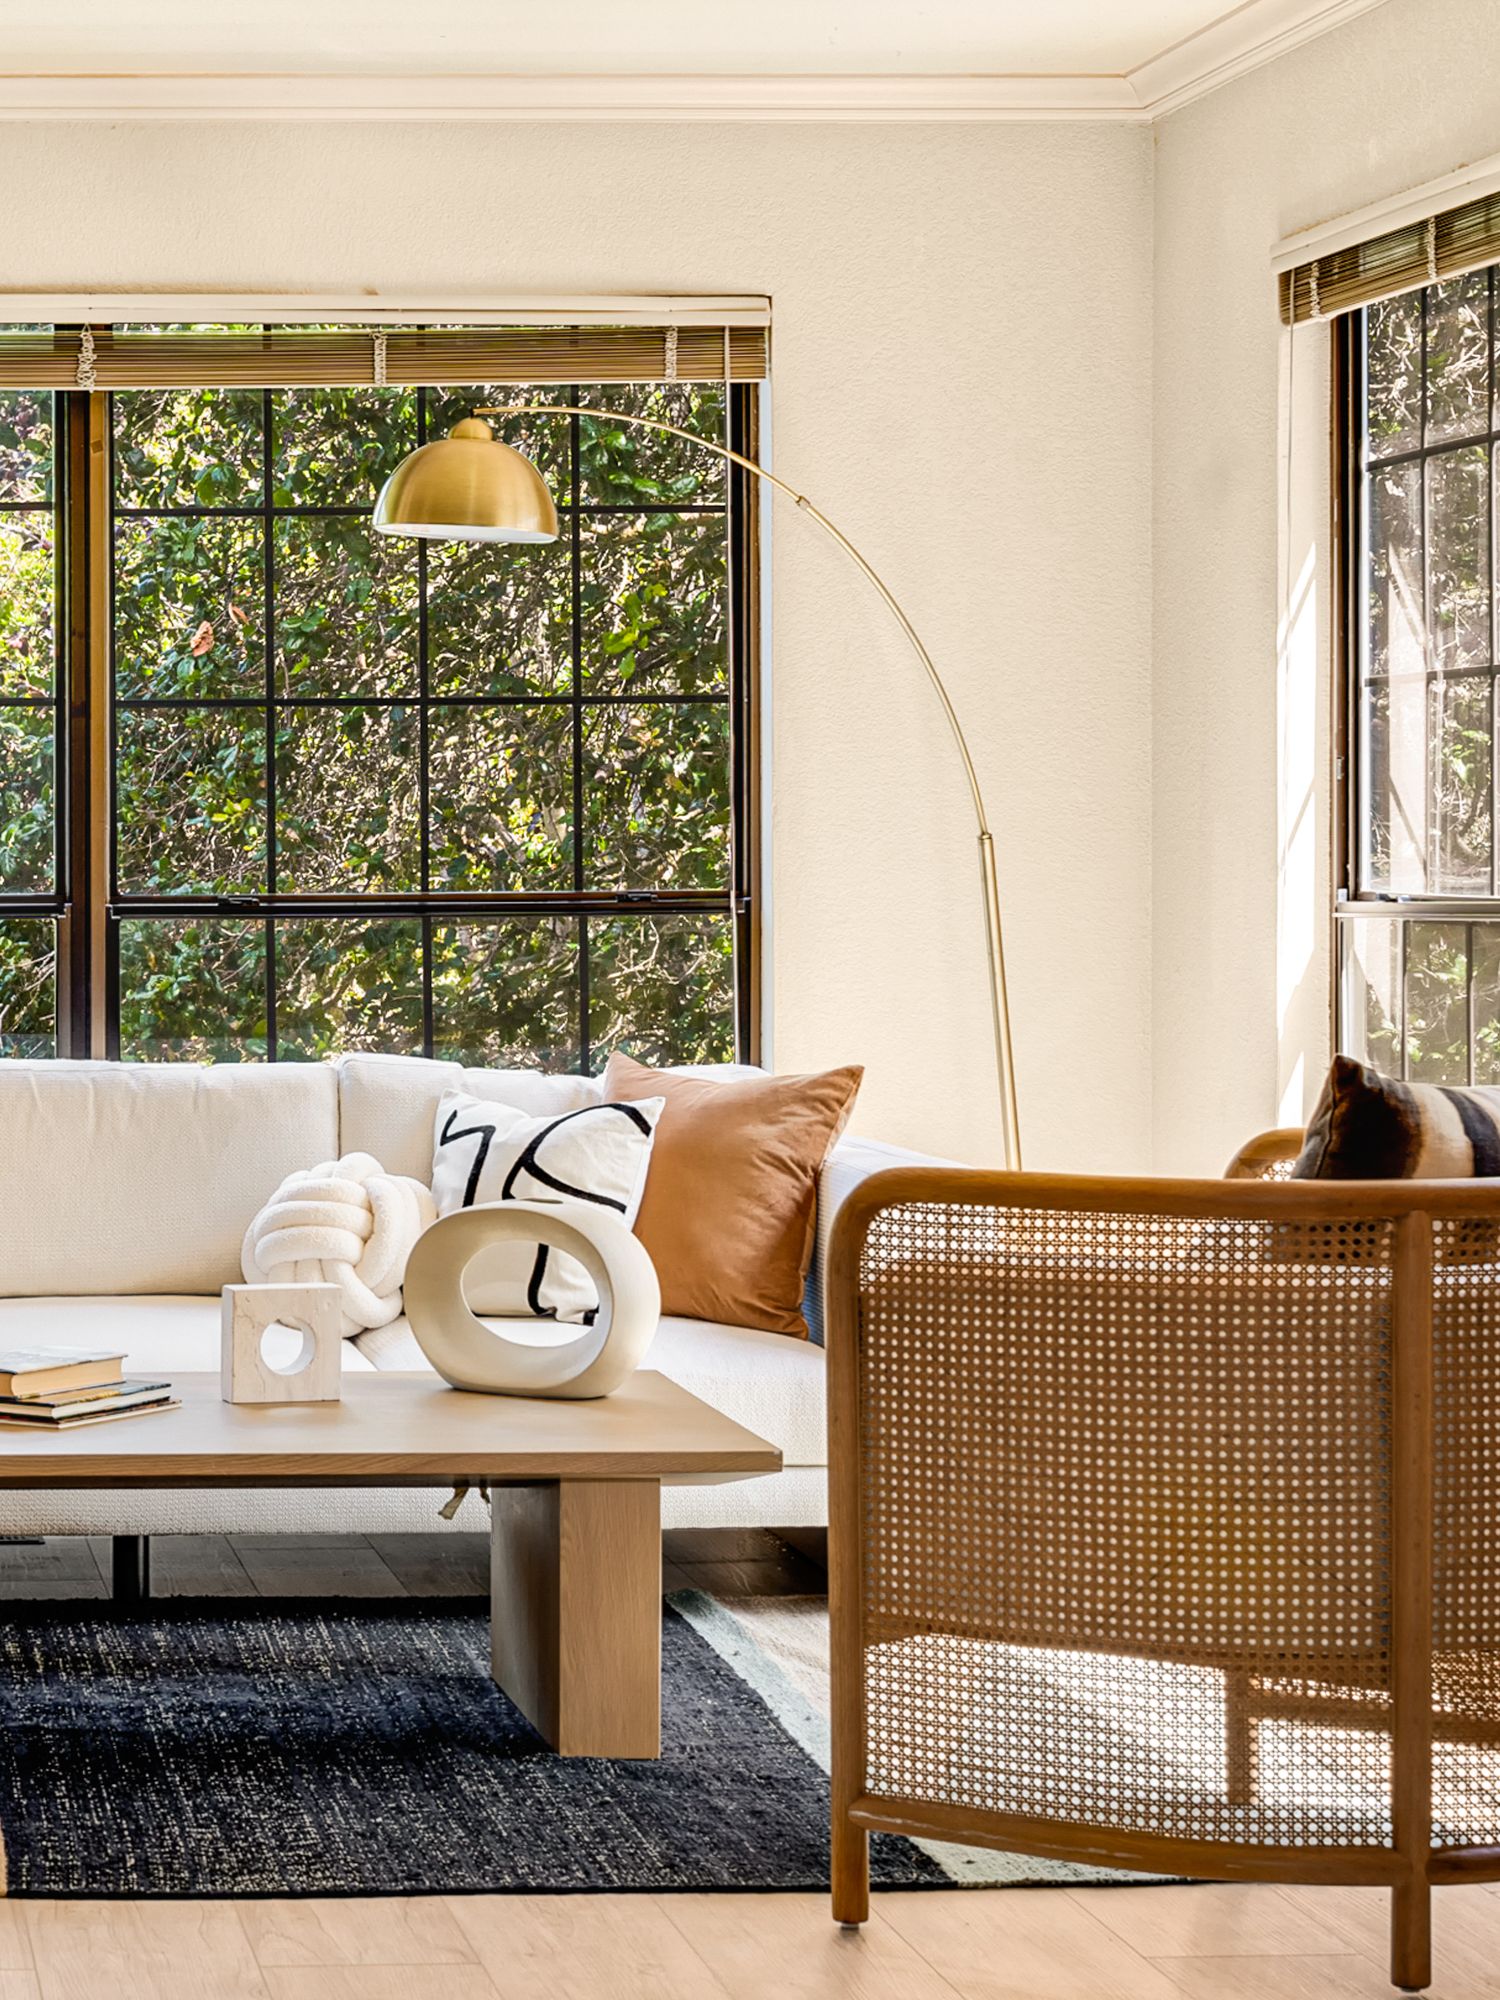
Layered lighting means combining sources that serve different purposes. Ambient light provides general illumination; task light supports activities such as reading; accent light draws attention to a surface or feature. In a living room, these roles can overlap. You don't need a separate fixture for every label.
Keep a usable overhead fixture in the plan, but don't ask it to carry the entire room. Its light may help buyers move comfortably through the space while a table lamp brings a softer glow closer to the sofa. A floor lamp can support an armchair or illuminate an otherwise shadowed edge.
Consider a hypothetical room with a sofa facing a fireplace and a window along the side wall. Place a shaded table lamp beside the sofa, then test a floor lamp near the chair farther from the window. Use the ceiling fixture to support that arrangement, not overpower it. The aim is a visible seating group with comfortable light across the room.
Let furniture guide placement. A lamp should look connected to a chair, table, or usable corner rather than stranded against a wall. Leave open floor space between pieces so buyers can understand the layout at a glance. For lighting for home staging, that clarity matters more than displaying an extensive fixture collection.
Coordinate bulb color, then adjust brightness
A yellow-looking table lamp beside a blue-white ceiling fixture can make the same wall appear to have different paint colors. Before replacing either fixture, read the bulb labels. Color temperature, expressed in Kelvin, describes whether the light looks warmer or cooler; it doesn't tell you how much light the bulb produces.
Choose a consistent warm-white color temperature for lamps and overhead fixtures that buyers see together. Compare the Kelvin labels rather than relying only on packaging terms, which can vary. Then test the bulbs in place. A cream fabric shade warms the appearance of light differently from clear glass or a white diffuser.
Next, check lumens, the measure of light output. If the room still feels dim, you may need more output or better distribution, not a cooler color. A brighter bulb in the wrong position can create glare while leaving the far wall dark. Change a source, observe the result, and continue from there.
Follow each fixture's bulb-type and wattage limits. If you use dimmers, confirm that the bulbs and controls are compatible; buzzing or flickering needs attention before a showing. For integrated fixtures with adjustable color settings, coordinate them with nearby lamps. Leave wiring changes and unresolved electrical problems to a qualified electrician.
Position shades to soften glare and reveal texture
Stand where a buyer will enter, then sit where they might pause. Can you see directly into a bright bulb? Does a lamp reflect sharply in the television or a glass-topped table? Light that feels comfortable from the doorway may become distracting at seated eye level.
Adjust the lamp's position or choose a shade that shields the bulb from normal viewing angles. A translucent fabric shade can spread light across nearby upholstery and walls. An opaque metal shade directs light more narrowly, which may suit a reading chair but won't necessarily brighten the surrounding room.
Give the darker wall some attention. A lamp that gently illuminates a pale surface can make the room's boundaries easier to read. Look for enough light to reveal the weave of the sofa fabric and the grain of a wood table without producing a glaring hotspot. Avoid aiming a concentrated beam at scuffed paint or uneven plaster.
Keep the arrangement practical. Tuck cords along walls without pinching them or routing them beneath rugs, and keep them out of walking paths. Choose stable lamp bases that don't crowd the seating. When reviewing our staging portfolio, look at how furniture placement preserves both open floor space and a readable room layout.
Prepare separate lighting plans for photos and showings
The lighting arrangement that feels comfortable in person may need adjustment for listing photography. A camera can record lamps as bright hotspots or emphasize color differences that your eyes overlook. Don't assume that every light should stay on for every photograph.
Before the shoot, tell your photographer which lamps, dimmers, and window coverings are available. Let them assess the window direction, outside conditions, and interior light together. There isn't a universally best shooting hour: low sun may flatter one room and send distracting glare through another.
You can prepare by taking simple phone snapshots from likely listing angles. These aren't substitutes for professional photographs, but they can reveal a bright shade dominating the frame, a cord crossing the floor, or a corner that disappears into shadow. Adjust the physical setup rather than relying on image editing to disguise it.
For evening showings, prioritize the experience of moving through the home. Turn on the selected lights before visitors arrive, and check the transition from the entry into the living room. Keep the controls straightforward so your agent can repeat the setup. If a lamp requires an app or an unfamiliar remote, provide clear instructions rather than leaving anyone to guess in a dim room.
Finish with a lighting check, not another shopping trip
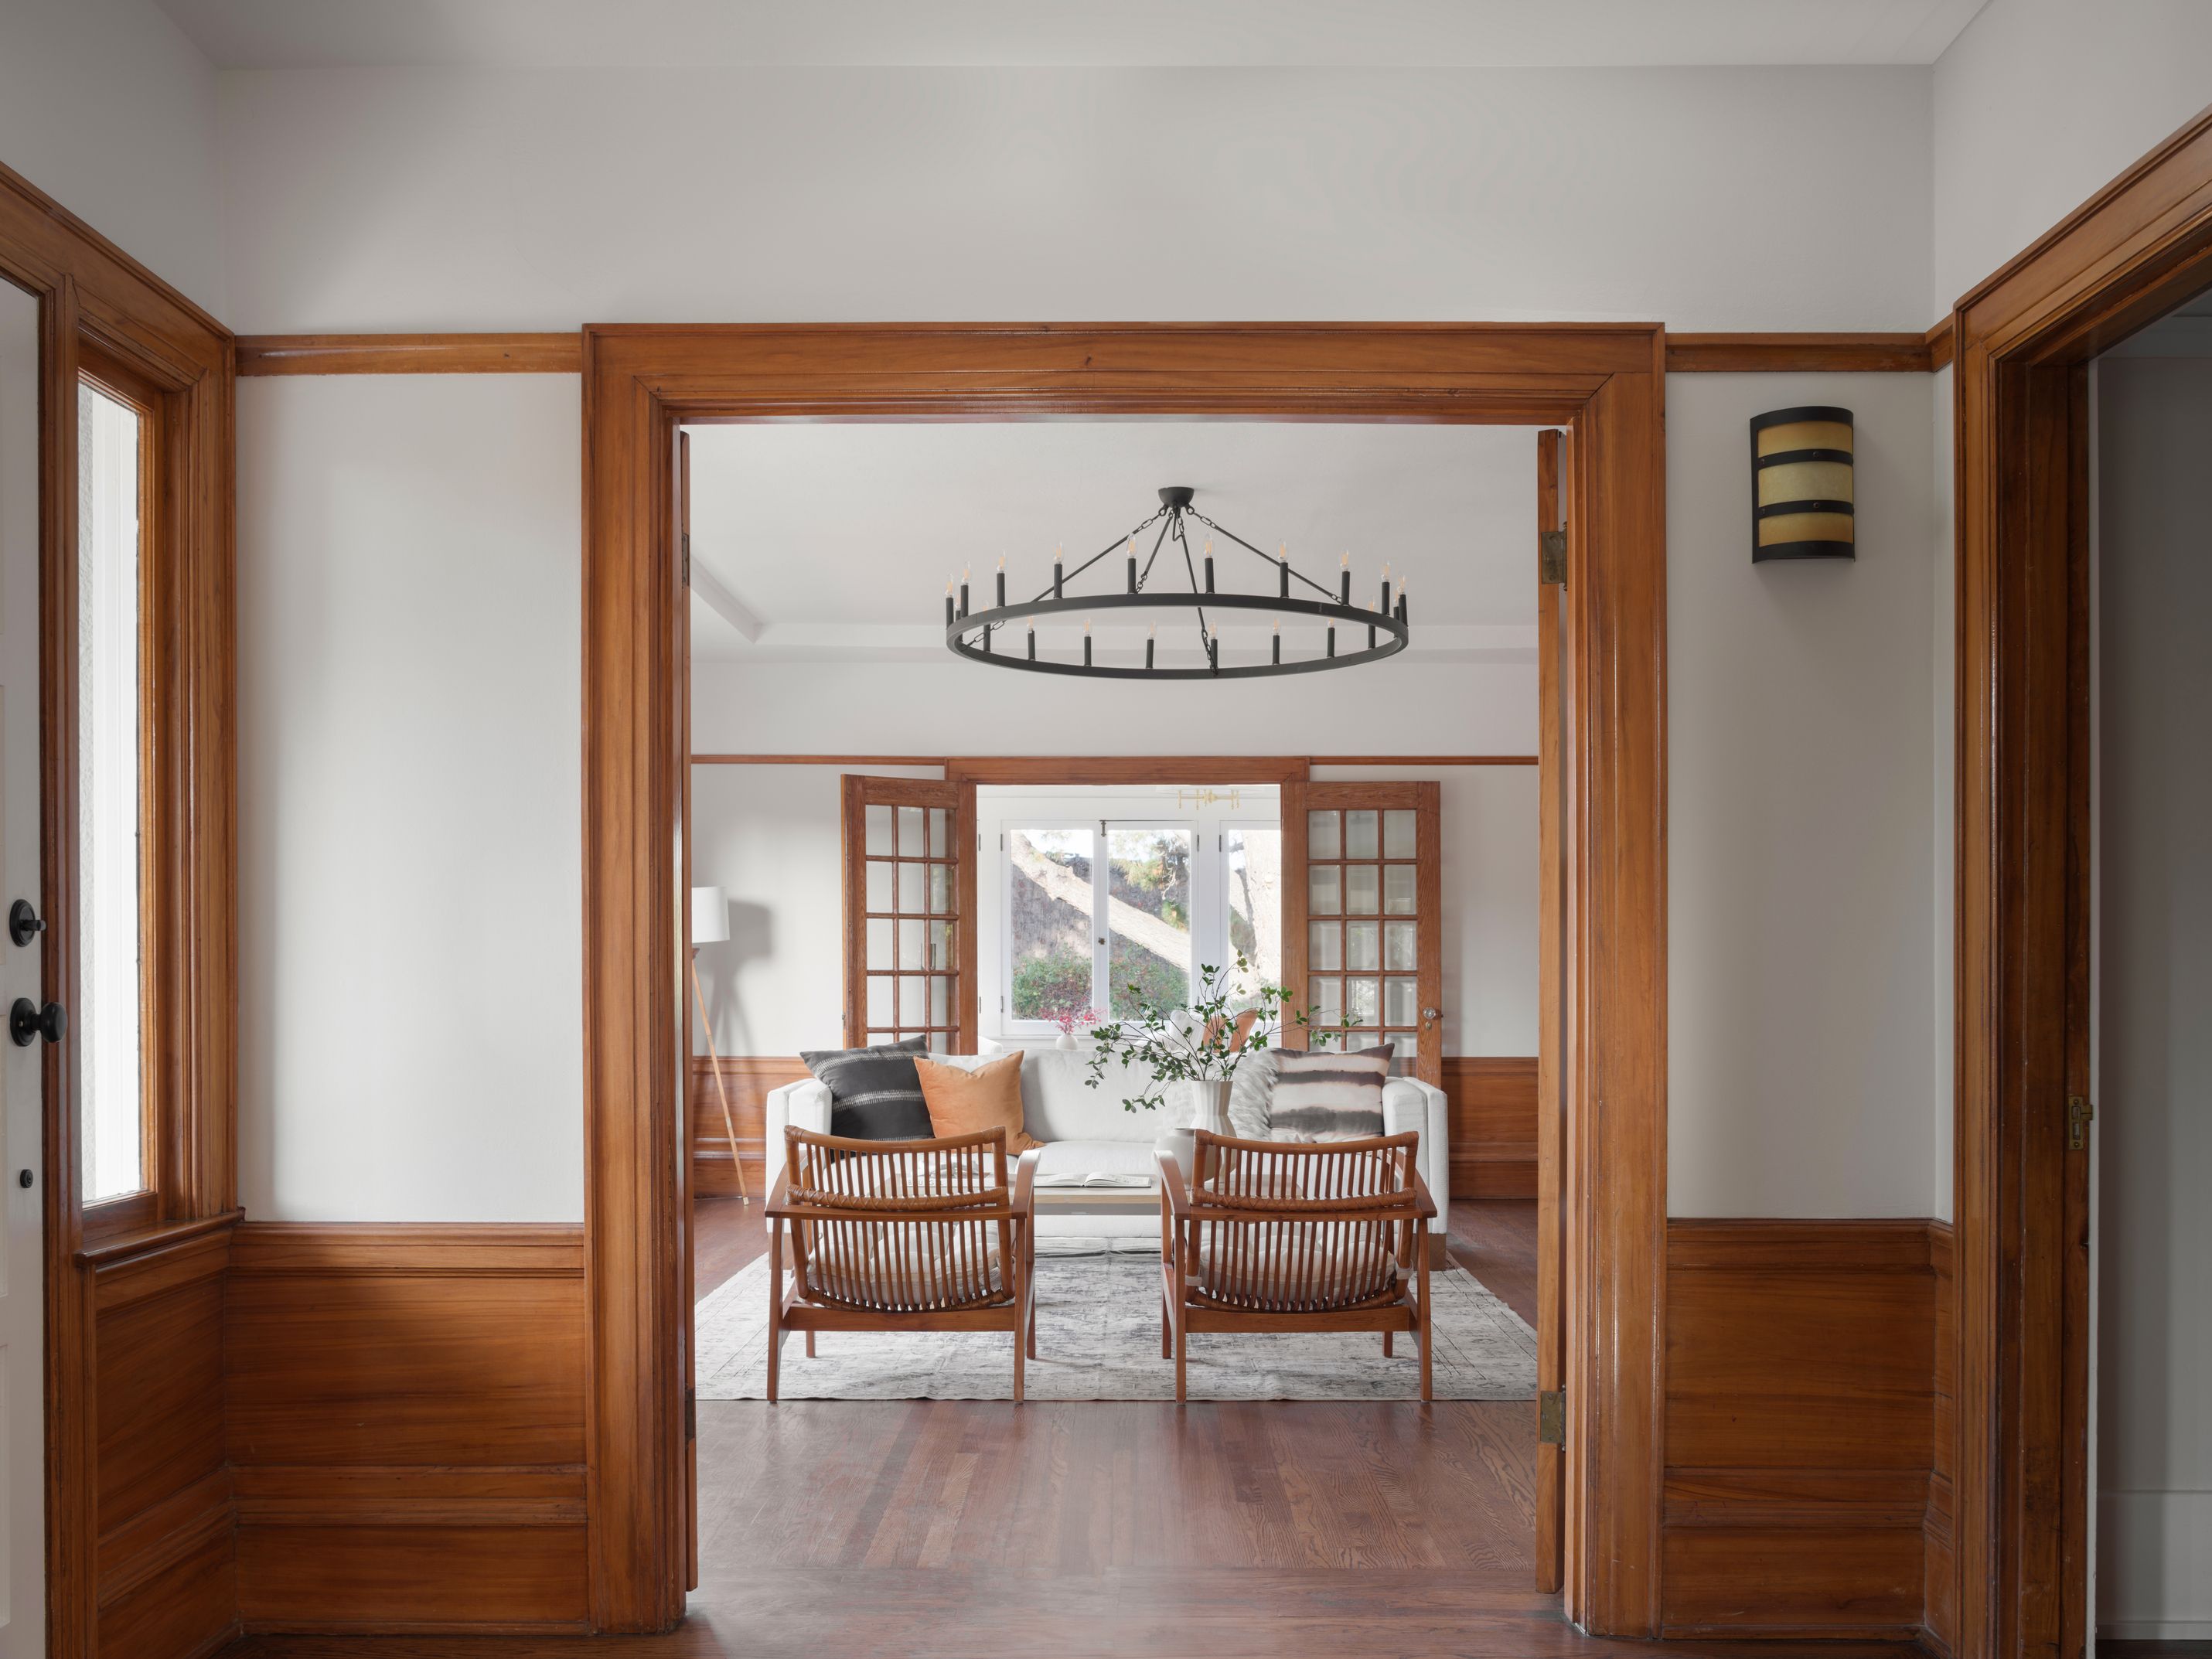
Once you've adjusted the lamps and bulbs, return to the doorway after sunset. The seating should be easy to see, the walking route should remain clear, and no exposed bulb should demand your attention. Look for a balanced room, not equal brightness on every surface. Some soft shadow helps furniture retain its shape.
Now reconsider the paint. If the walls still look heavy under coordinated, well-distributed light, a lighter finish may deserve consideration. If they look clean and consistent, you may have solved the immediate presentation problem without taking on another preparation project.
Before buying more fixtures, also check scale. A small lamp can disappear beside a broad sofa, while an oversized shade can crowd a narrow side table. Borrow a suitable lamp from another room to test placement before committing to a purchase. Remove anything that adds clutter without improving visibility.
Mia's Home Staging, founded by Mia Wang, offers both physical staging and consulting for Bay Area homes. Physical staging furnishes rooms for sale; consulting helps you decide what to adjust in your existing setup. Our staging and consulting services pair design knowledge with restraint, so the preparation plan supports the room instead of filling it with unnecessary additions.
Frequently Asked Questions
- Should I repaint a dark living room before selling?
- Test the lighting first. Clear window obstructions, coordinate bulb color temperatures, and add light where seating or walls remain in shadow. Reassess the paint afterward; lighting won't repair worn finishes, but repainting alone won't illuminate a dark corner.
- Should living room lamps and ceiling lights have matching bulbs?
- Use a consistent color temperature for sources visible together, checking the Kelvin labels rather than packaging descriptions alone. Brightness can vary by purpose, and shade materials can affect how the light appears. Always follow fixture requirements.
- Should all the lights be on for listing photos?
- Not necessarily. Your photographer should assess daylight, glare, and color differences before choosing which fixtures to use. Prepare working lamps and accessible controls so they can adjust the setup without interrupting the shoot.
- Where should I put lamps for evening showings?
- Place lamps near usable seating and areas that remain dark after sunset. Check the arrangement from the doorway and seated eye level, shield visible bulbs, and keep lamp bases and cords out of walking paths.


