How to Update Honey Oak Cabinets Without Painting
A coordinated plan for walls, hardware, lighting, and nearby rooms before your home goes on the market.
How to Update Honey Oak Cabinets Without Painting
A coordinated plan for walls, hardware, lighting, and nearby rooms before your home goes on the market.
Start with the room around the oak
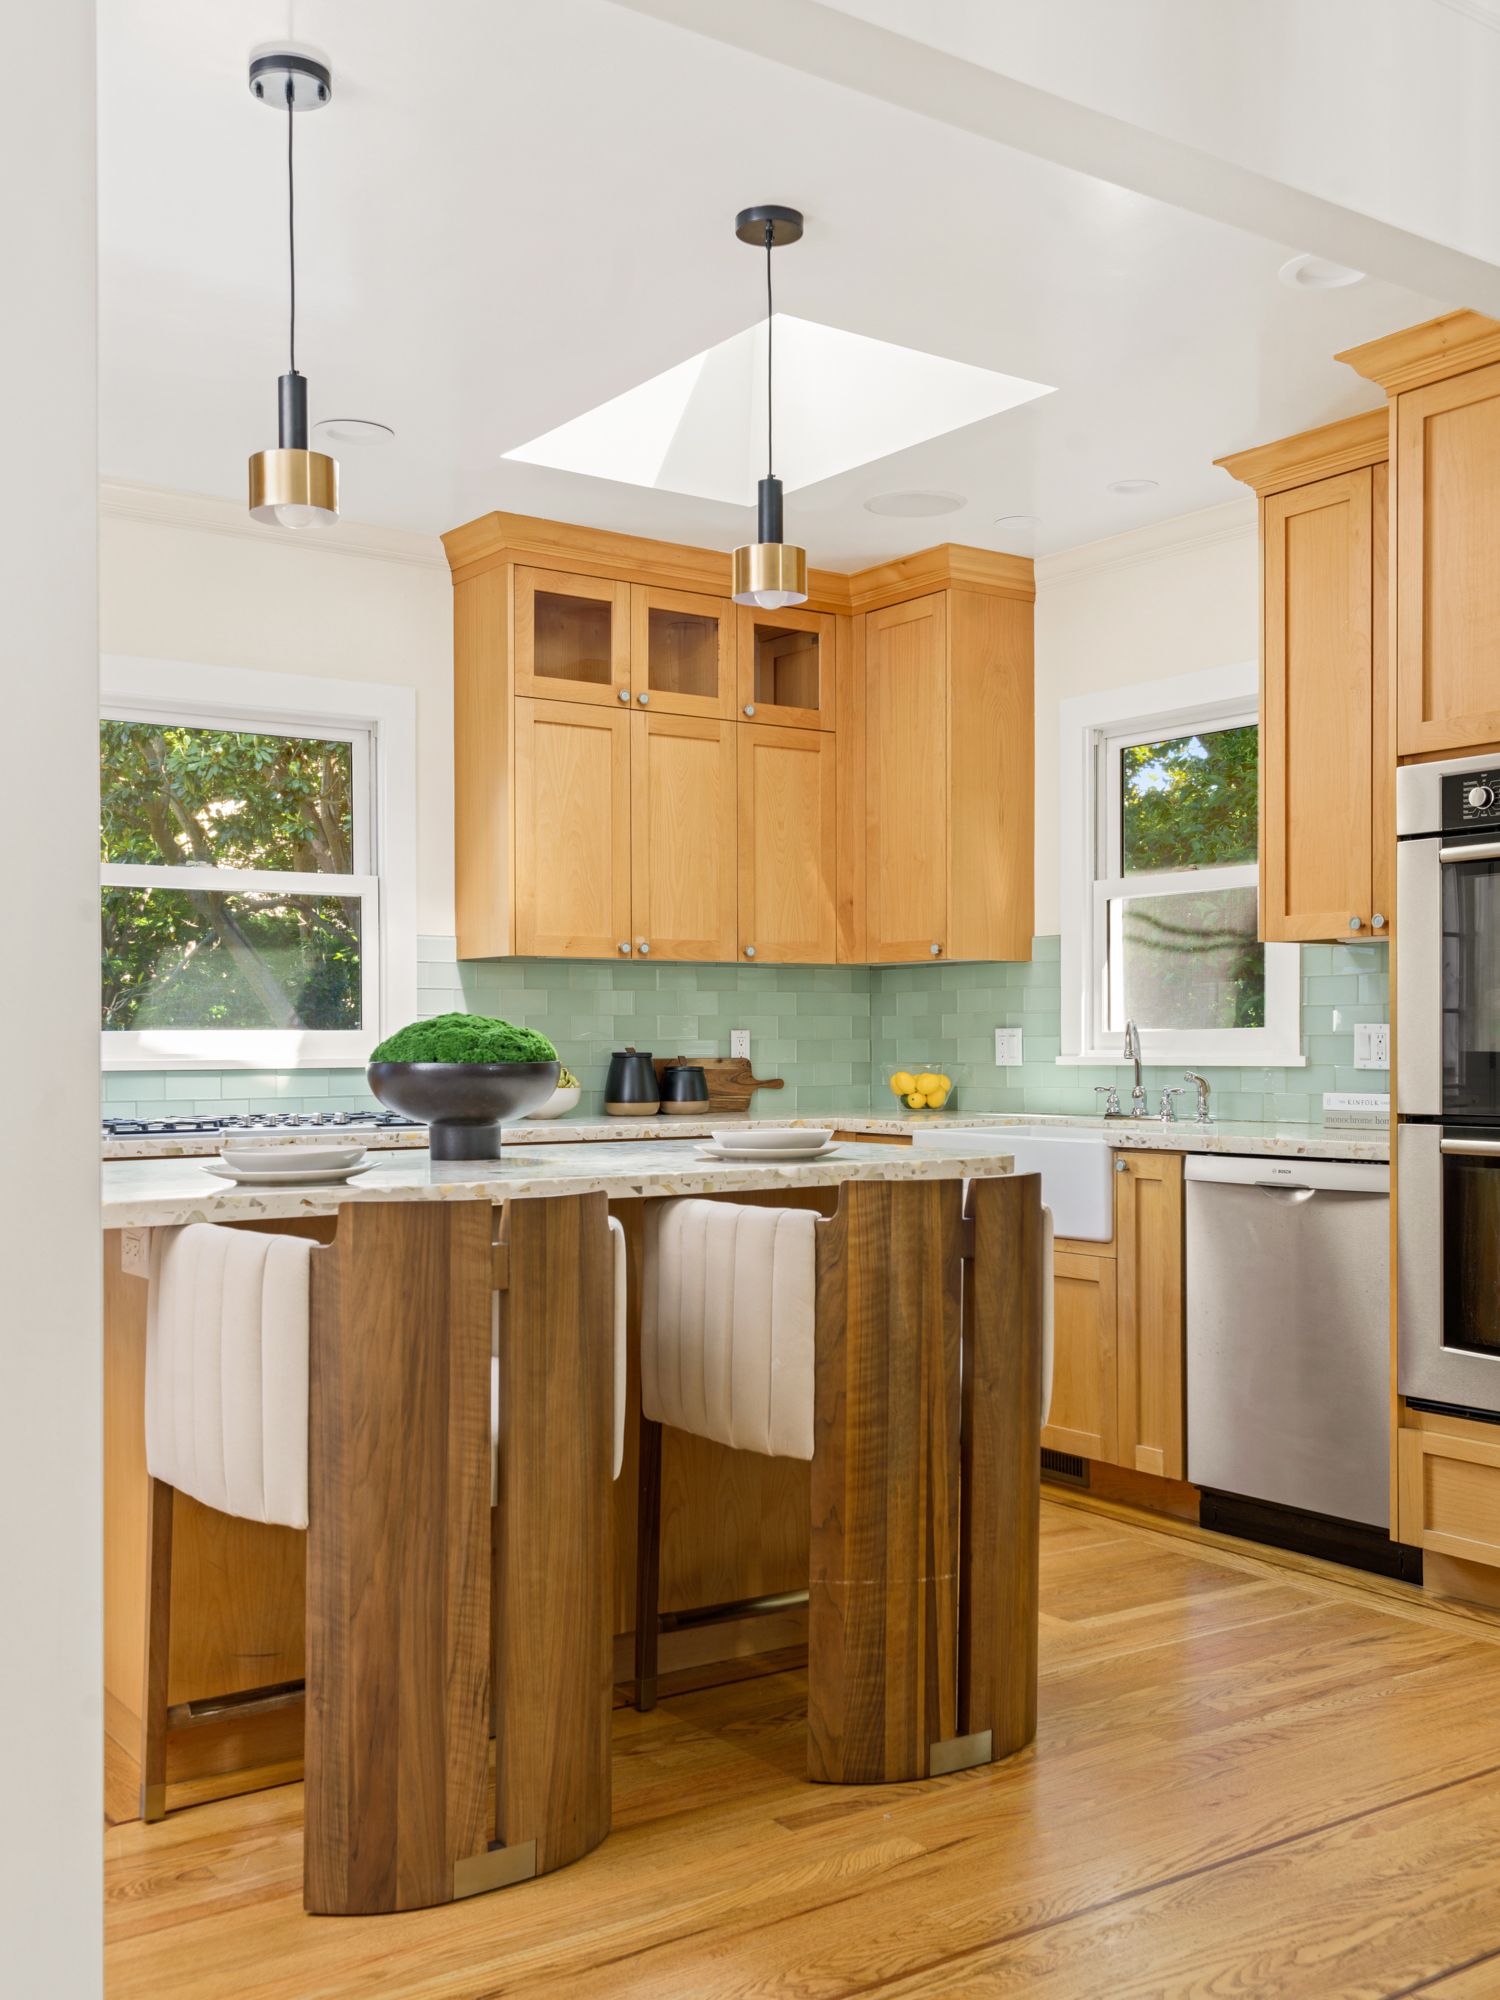
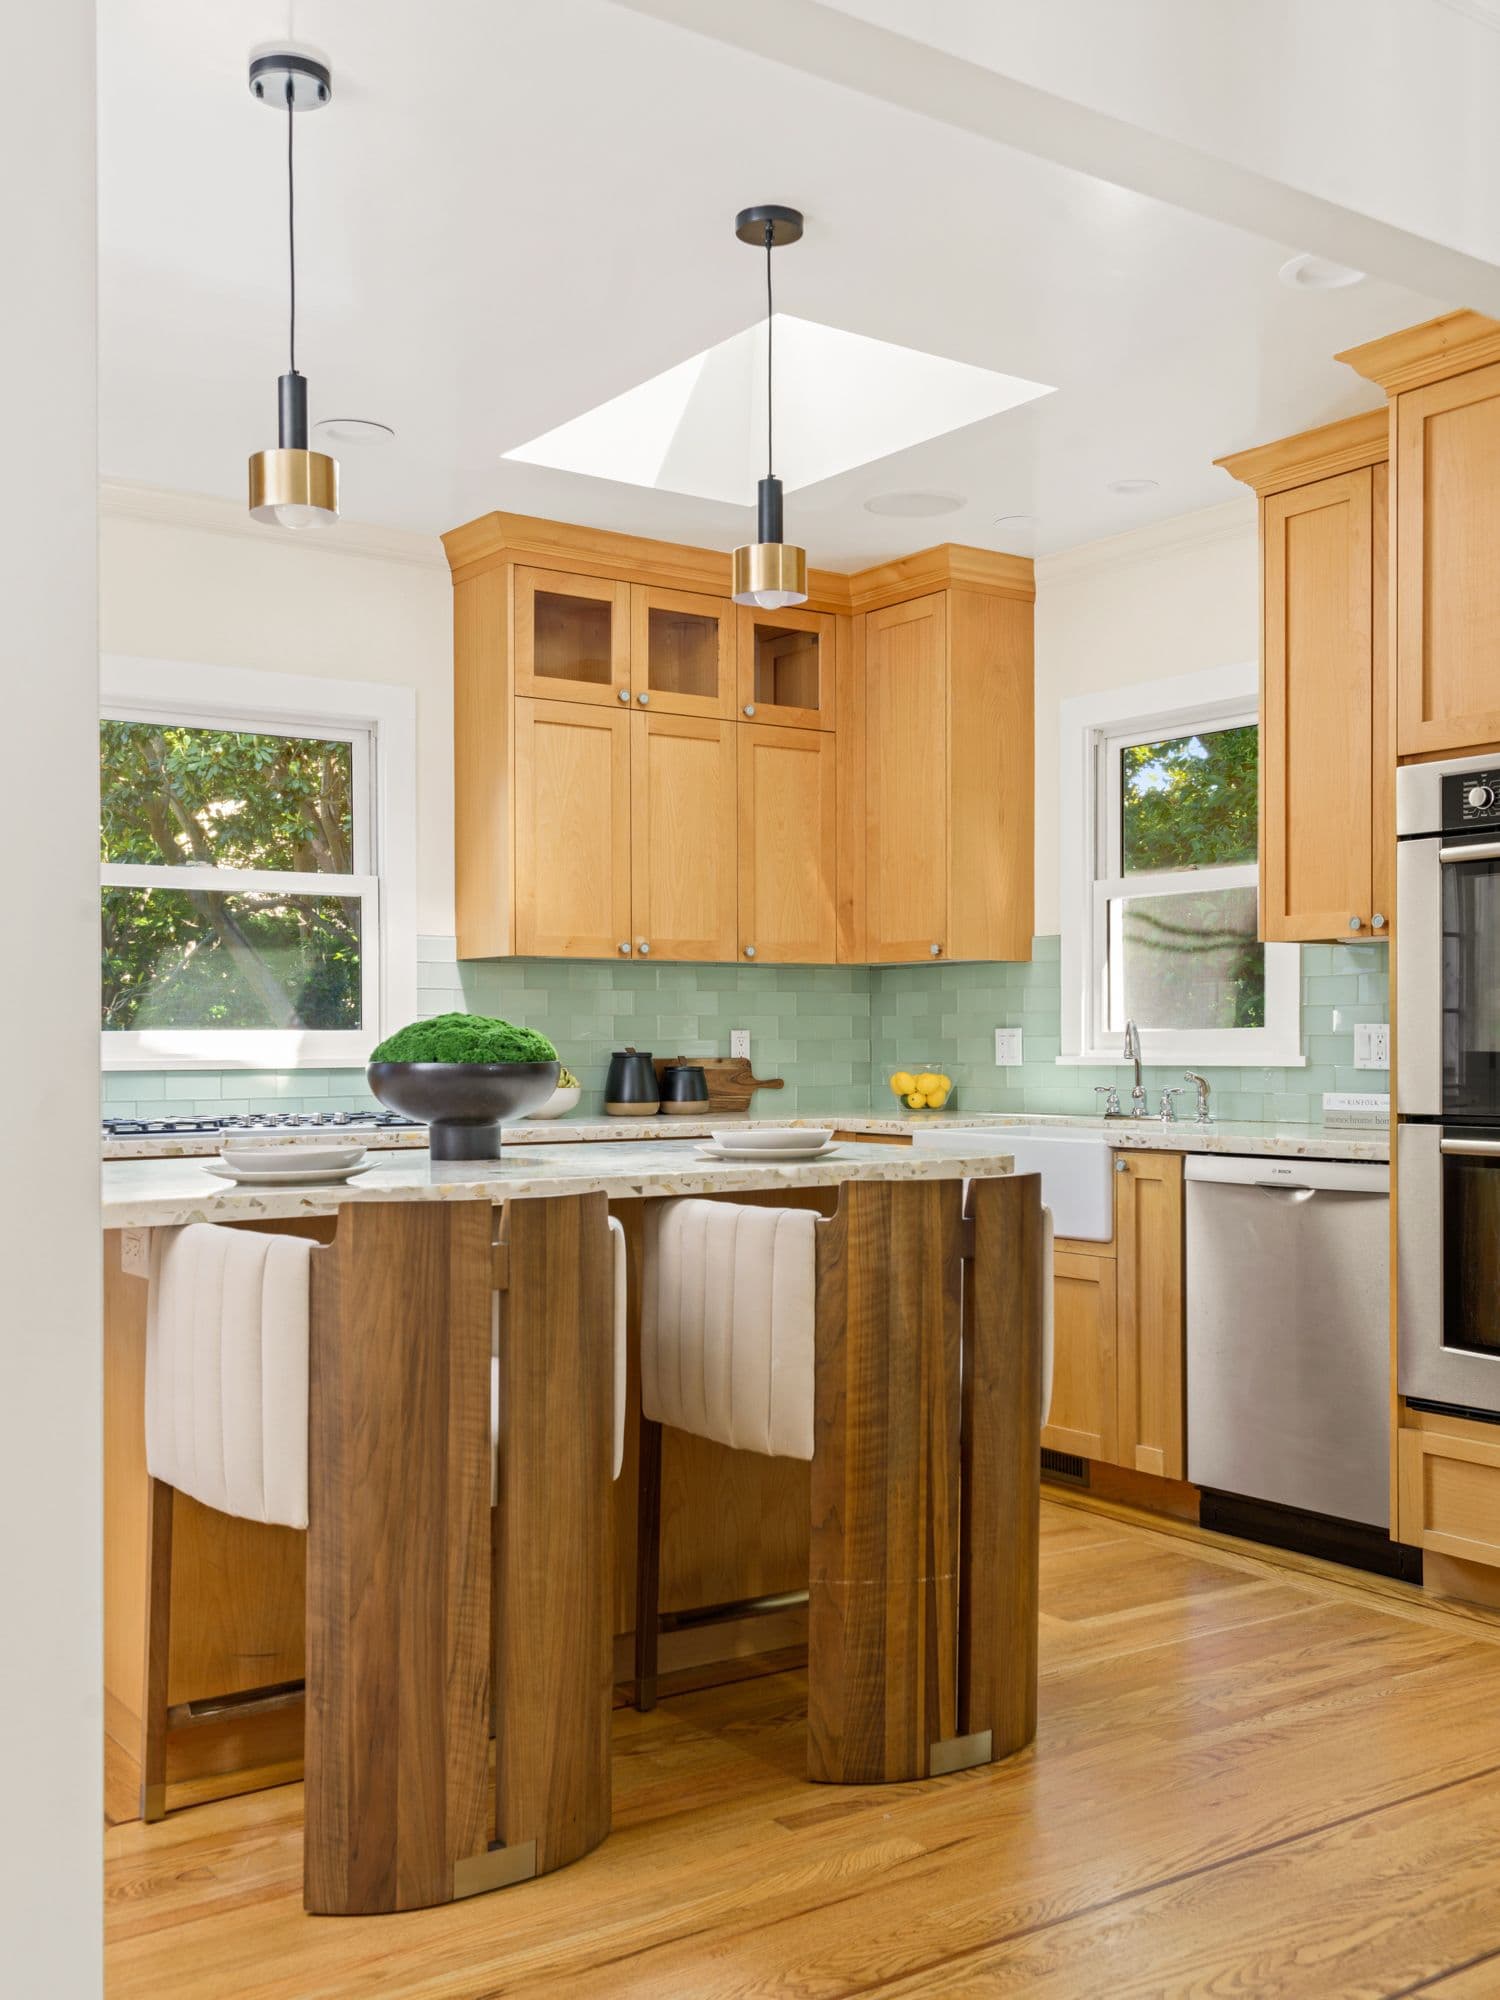
The cabinet doors glow amber in the afternoon sun. Above them, a cool gray wall looks faintly lavender; nearby, a blue-white ceiling light makes the countertop look flat. If you're wondering how to update honey oak cabinets before selling, start with those competing elements rather than a paintbrush.
Here's our position: sound honey oak cabinets deserve a coordinated room before they deserve a replacement finish. Their visible grain and golden color aren't details you can erase with new handles. They are materials to work with. The goal isn't to disguise the wood; it's to stop the surrounding finishes from arguing with it.
For Bay Area homeowners preparing to list, that distinction helps narrow the work. You can focus on wall color, compatible hardware, consistent lighting, and furnishings that connect the kitchen to the rest of the home. None of these choices promises a particular sale outcome, but they give the room a clearer visual direction.
Start by looking at the kitchen from its entrance and from the adjoining room. Notice what shares the view with the cabinets: a painted wall, a backsplash, a sofa, perhaps a pendant over the table. That whole composition needs attention, not just the cabinet fronts.
The goal isn't to disguise the wood; it's to stop the surrounding finishes from arguing with it.
Clean and assess before choosing finishes
First, separate cosmetic friction from actual wear. Grease around a handle can darken the oak; a crooked door can cast an uneven shadow along the cabinet face. Neither problem calls for a new color palette. Clean the cabinetry with a product appropriate for its existing finish, following the manufacturer's directions and testing an inconspicuous area.
Check hinges, drawer movement, loose pulls, and damaged edges. Have a qualified cabinet professional assess peeling finish, water damage, or repairs you can't confidently handle. Styling won't correct those conditions. Avoid aggressive scrubbing or applying oils and polishes indiscriminately; an unfamiliar product may change the sheen or complicate later repair.
Next, identify what will stay. Your countertop, flooring, and backsplash matter as much as the oak because they occupy large surfaces. Look for their underlying color cast, often called an undertone. Does the tile lean pink, yellow, gray, or green? Does the countertop contain a creamy fleck you could repeat elsewhere?
Make those observations in daylight and again with the lights on. A wall color that relates to the wood but clashes with the tile isn't doing its job. This simple inventory keeps you from buying attractive pieces that don't belong together.
Choose wall colors beside the fixed surfaces
The most useful wall colors that go with honey oak cabinets aren't a universal list of paint names. They are colors that connect your particular wood, countertop, and flooring. Begin with a soft off-white, a pale warm neutral, or a muted earthy green, then test rather than assume.
A creamy off-white can create a gentle transition from golden wood without adding a strong competing hue. Watch the yellow content, though. A buttery sample may make the entire room feel more golden than you intended. A quieter off-white may offer enough warmth while keeping the walls visually separate from the cabinet doors.
A pale beige or warm gray-beige can work when stone or tile already contains those tones. Muted green offers another direction, especially when nearby rooms contain natural textiles or earthy colors. Green may also make the oak's orange notes more noticeable through contrast. That's not automatically a problem, but you should see it before committing.
Test large samples vertically beside the cabinetry, backsplash, and trim. Check the corner farthest from the window as well as the sunlit wall. Keep the existing ceiling and trim in view; a new wall color can expose a mismatch you hadn't noticed. Choose the sample that connects the most fixed elements, not the one you prefer in isolation.
Use hardware to simplify the cabinet fronts
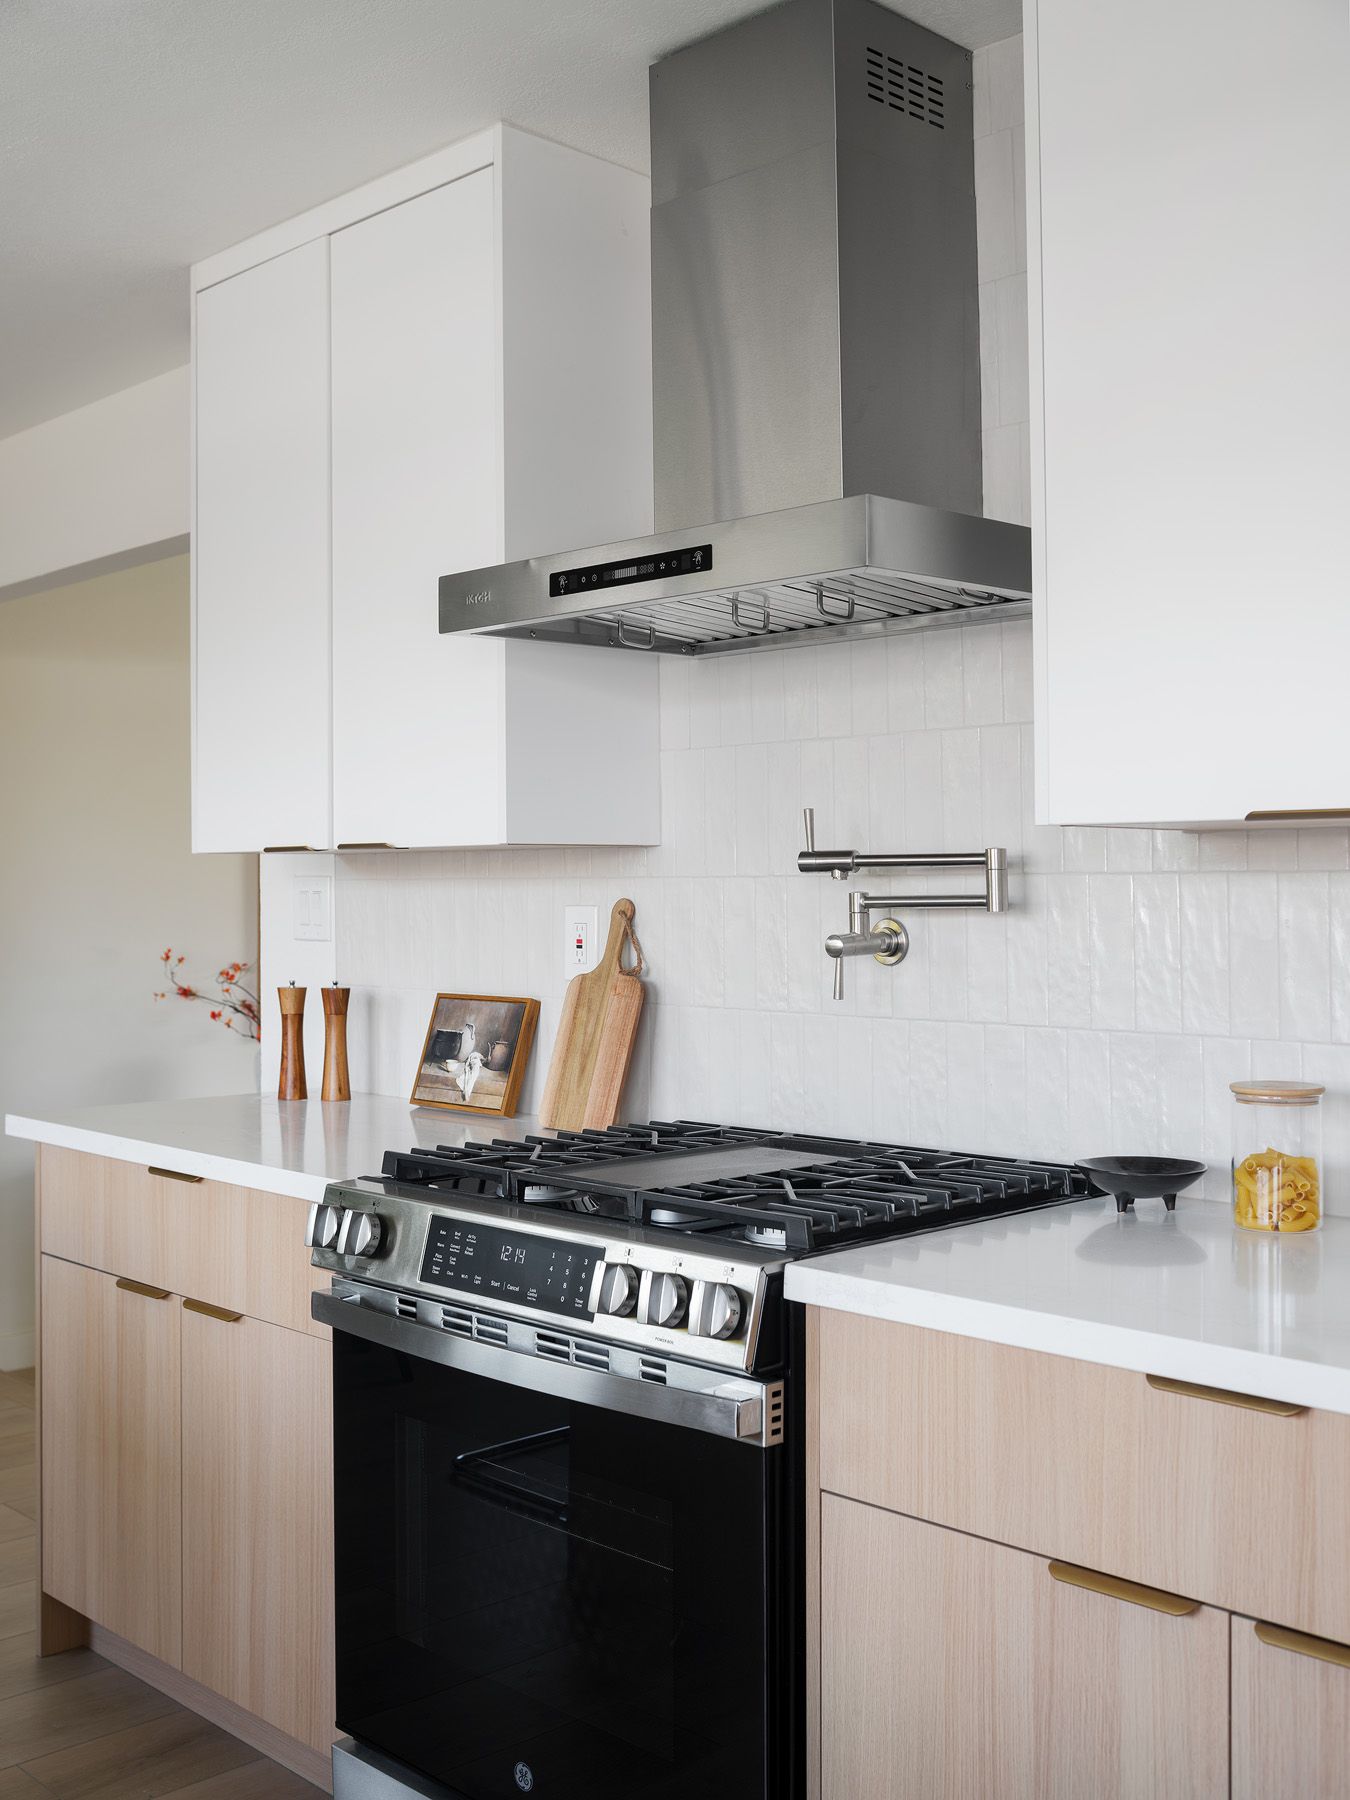
Hardware offers a focused way to update oak cabinets without painting, provided the new pieces fit the doors physically and visually. Look for uncomplicated shapes with a comfortable grip. A restrained pull can sit quietly against pronounced grain, while an ornate silhouette adds another pattern to an already textured surface.
Let the kitchen's existing metals guide the finish. Brushed nickel can connect with stainless appliances and introduce a cooler note without a sharp outline. Dark bronze or matte black creates more contrast and works best when another nearby element, such as a light fixture or chair frame, carries that darker tone.
Brass is an option, not an automatic answer. Against golden oak, a yellow brass finish can concentrate warmth. Compare an actual sample with the cabinet, faucet, and countertop before ordering. You don't need every metal to match, but each finish should have a reason to be there.
Measure the distance between existing screw holes before selecting replacements. Also check whether the old hardware leaves an imprint or a differently colored patch. A new pull may fit the holes and still expose a mark. Test a replacement on an actual door before purchasing the full set; avoid creating repair work just before photography.
Make the lighting consistent before repainting
Honey oak can look mellow beside a window and intensely orange beneath a yellowish lamp. That shift makes lighting part of the color decision, not an accessory to address afterward. Before finalizing paint, look for mismatched bulbs that make one end of the kitchen appear blue and the other amber.
Choose compatible bulbs with a consistent color appearance across the main fixtures, following each fixture's requirements. Test them in the room rather than relying only on packaging. You want enough light to distinguish the cabinet grain, countertop pattern, and wall color without giving everything a heavy yellow cast or an icy edge.
Address shadows as well as brightness. If the work surface disappears beneath the upper cabinets, suitable under-cabinet lighting may help. Use properly rated products and professional installation where electrical work requires it. If an existing fixture functions well and suits the room's scale, cleaning its shade may be more useful than replacing it.
For photographs and showings, open window coverings where privacy allows and clean the glass. Then assess the room with the lighting arrangement you actually plan to use. The aim is a consistent impression between the bright breakfast area and the deeper kitchen, not maximum brightness everywhere.
Carry the palette beyond the kitchen doorway
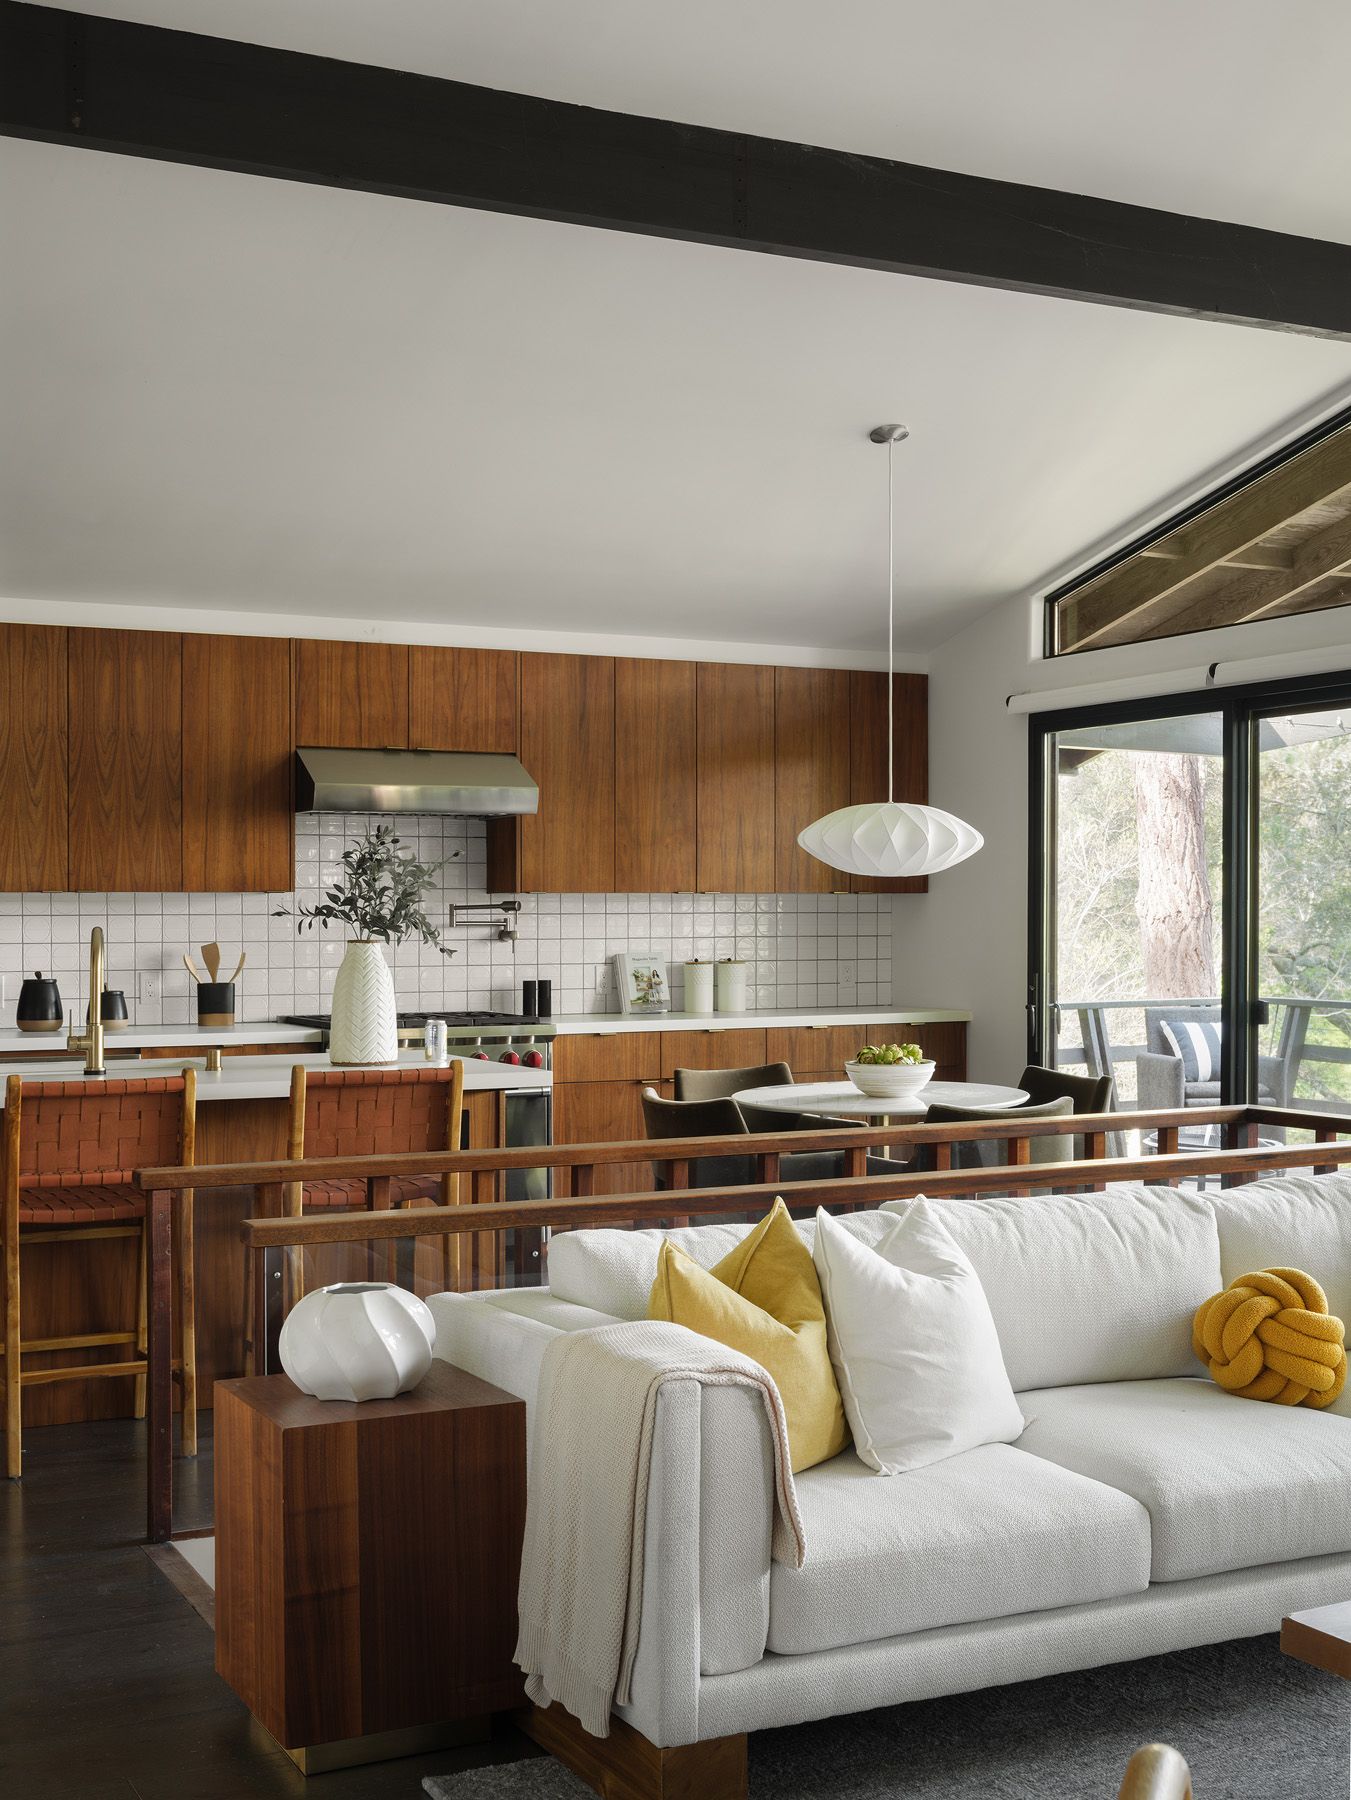
A kitchen can feel disconnected even after careful updates if the neighboring room introduces an unrelated palette. Stand where a buyer will first see both spaces. The oak cabinets, dining chairs, rug, and sofa now belong to the same view, whether or not the floor plan labels them as separate rooms.
Consider a hypothetical kitchen with honey oak cabinets, a cream countertop, and brushed nickel hardware. Soft off-white walls could connect it to a dining area with oatmeal upholstery and a dark wood table. A muted olive textile farther into the living room could add color without introducing another broad orange surface.
Notice what this approach doesn't require: an oak dining set that duplicates the cabinetry. Instead, repeat selected qualities. Linen upholstery can pick up the countertop's softness; a darker wood table can give the lighter cabinets some contrast. Leave enough open space around furniture that the route from kitchen to dining area remains obvious.
This is where staging, arranging furniture and accessories for a home's sale presentation, can address more than an individual room. Review our staging portfolio with those connecting views in mind. Look at furniture scale, material relationships, and open floor space rather than trying to reproduce every accessory.
Finish with a restrained, usable kitchen
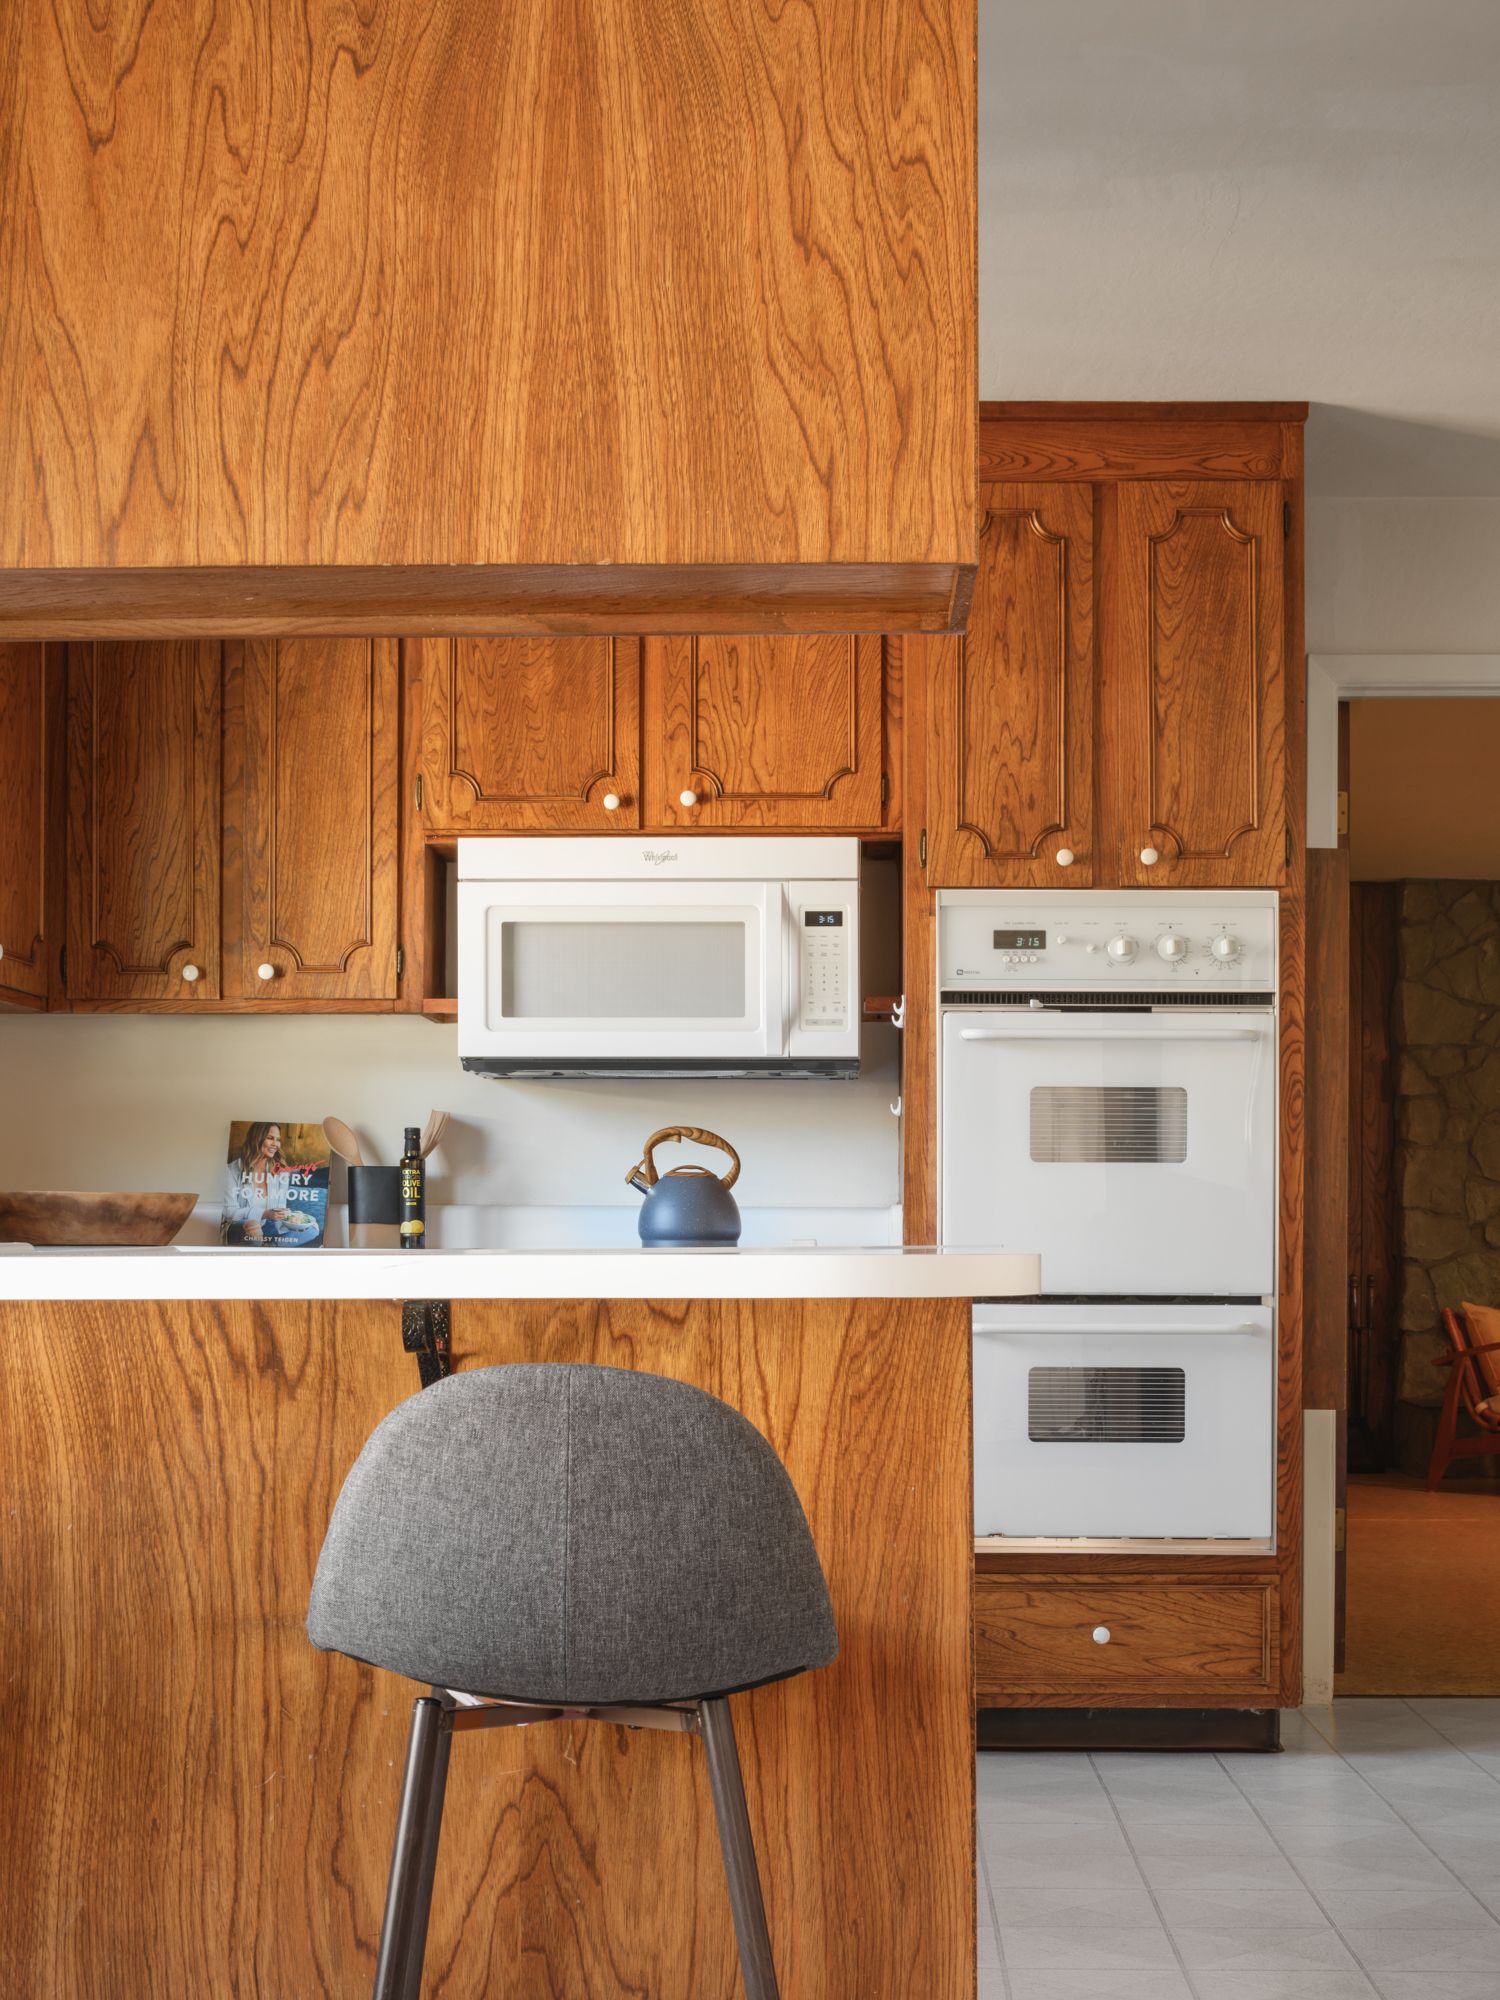
The final kitchen staging ideas should reinforce the palette you've established. Clear away packaging, refrigerator papers, crowded utensil containers, and anything that interrupts the usable counter area. You don't need to remove every sign of daily life; you need the countertop and cabinet faces to remain easy to see.
Choose a few objects that contribute texture or function without repeating too much golden wood. A matte ceramic bowl or a plain linen towel can soften the hard surfaces. If the cabinetry already dominates the view, adding a row of amber cutting boards may simply amplify the color you're trying to balance.
Finish with a practical check: open the drawers, walk the route to the table, and look back toward the kitchen from the living room. Clean surfaces and neutral-smelling air matter more than scented products. Remove anything that crowds a doorway or hides a repair that still needs attention.
At Mia's Home Staging, founded by Mia Wang, we offer physical staging and consulting for Bay Area sellers. Our approach pairs an understanding of materials, proportion, and color with restraint. Explore our staging and consulting services if you need help deciding which changes support the whole home and which can stay off the list.
Frequently Asked Questions
- Can I update honey oak cabinets without painting them?
- Yes. If the cabinets are in sound condition, start with cleaning and minor repairs, then coordinate the wall color, hardware, lighting, and adjoining furnishings. Assess damaged or failing finishes separately; decorative changes won't repair them.
- What wall colors work with honey oak cabinets?
- Soft off-whites, pale warm neutrals, and muted earthy greens are useful starting points. The right choice also depends on your countertop, flooring, backsplash, and lighting. Test large samples beside those surfaces before committing.
- What hardware finish should I use with honey oak?
- Brushed nickel, dark bronze, matte black, and some brass finishes can work. Compare physical samples with the oak and existing metals. Measure the screw-hole spacing and check for marks beneath the old hardware before ordering replacements.
- Should the dining furniture match the oak cabinets?
- It doesn't need to duplicate the cabinet finish. Connect the rooms through selected wall colors, upholstery, and accents. A darker wood table or textured neutral seating can relate to the kitchen while providing contrast.


