How Long Does Home Staging Take in the Bay Area?
A practical, photo-day-first timeline for preparing, installing, and styling your home.
How Long Does Home Staging Take in the Bay Area?
A practical, photo-day-first timeline for preparing, installing, and styling your home.
Start With Photography Day, Then Work Backward
How long does home staging take? For most Bay Area sellers, the useful answer begins with another question: When will the listing photographer arrive? Imagine that morning. The floors are clean, the windows catch soft daylight, and every cord, pillow, and dining chair has been checked before the camera comes through the door. That finished scene requires more than an installation appointment.
A comfortable home staging timeline often spans two to four weeks from consultation to photography. A vacant, market-ready home may move faster. An occupied home with repairs, editing, packing, and cleaning may need four to six weeks. Larger or luxury properties can require additional time for room planning, inventory coordination, art placement, and multi-day installation.
These are planning ranges, not fixed promises. Property condition, scope, building access, furniture availability, and the seller’s decision speed all affect the schedule. Our firm opinion is simple: photography day, not the listing launch, should control the staging calendar. Photos need a fully prepared home, and staging cannot compensate for wet paint, dusty floors, or a moving crew still carrying boxes through the hall.
Photography day, not the listing launch, should control the staging calendar.
Four to Six Weeks Before Photos: Consultation and Scope
The first step is a staging consultation. During this visit, a designer studies how buyers will move through the property and how each room will read through a camera lens. Staging means arranging furniture, art, lighting, and accessories so buyers can understand the scale and purpose of the rooms. It may involve rented furnishings in a vacant home, selective additions in an occupied home, or a consultation-only plan using what the seller already owns.
This is where practical decisions begin. Does a dark living room need lighter upholstery and another lamp? Is the dining table too wide for the walkway? Will a tall headboard cover the best wall in the bedroom? The designer also notes worn paint, visible cables, heavy drapery, crowded shelves, dated light fixtures, and other details that could interrupt the visual flow.
For occupied and larger homes, schedule this consultation about four to six weeks before photography when possible. Vacant properties that are already painted, cleaned, and repaired may begin closer to the photo date. The goal is not to fill every room. It is to define the work early enough that cleaners, painters, movers, stagers, and photographers are not competing for the same doorway.
Two to Four Weeks Before Photos: Prepare the Property
Pre-listing home preparation often takes longer than the staging installation itself. After the consultation, sellers may need to patch walls, touch up trim, replace burned-out bulbs, clean windows, reduce furniture, pack personal items, or address a room with a lingering pet or cooking odor. Each task looks small on paper. Together, they determine whether the finished home feels crisp or unfinished.
Occupied homes usually need the most coordination. Start with visual volume: crowded kitchen counters, overfilled bookcases, extra dining chairs, stacks of shoes, and thick layers of family photographs. Editing these items gives the eye a quiet place to land. It also opens traffic paths, so a buyer can walk from the entry to the main living area without turning sideways around furniture.
Vacant homes have a different preparation list. Confirm that repairs are complete, utilities are on, interior lights work, and floors have received their final cleaning before furniture arrives. Freshly cleaned wood or stone should feel smooth underfoot, not gritty with construction dust. If workers must return after staging, protect the furniture and tell the staging team in advance. A painter leaning a ladder against a staged wall can disrupt art, textiles, and the installation schedule.
This phase also protects the photography date. Build breathing room between messy work and staging whenever possible. Paint needs time to dry, cleaning products need time to air out, and fine dust tends to settle after contractors leave. Installing onto a genuinely ready property is more efficient than asking several crews to work around one another.
One to Two Weeks Before Photos: Design and Logistics
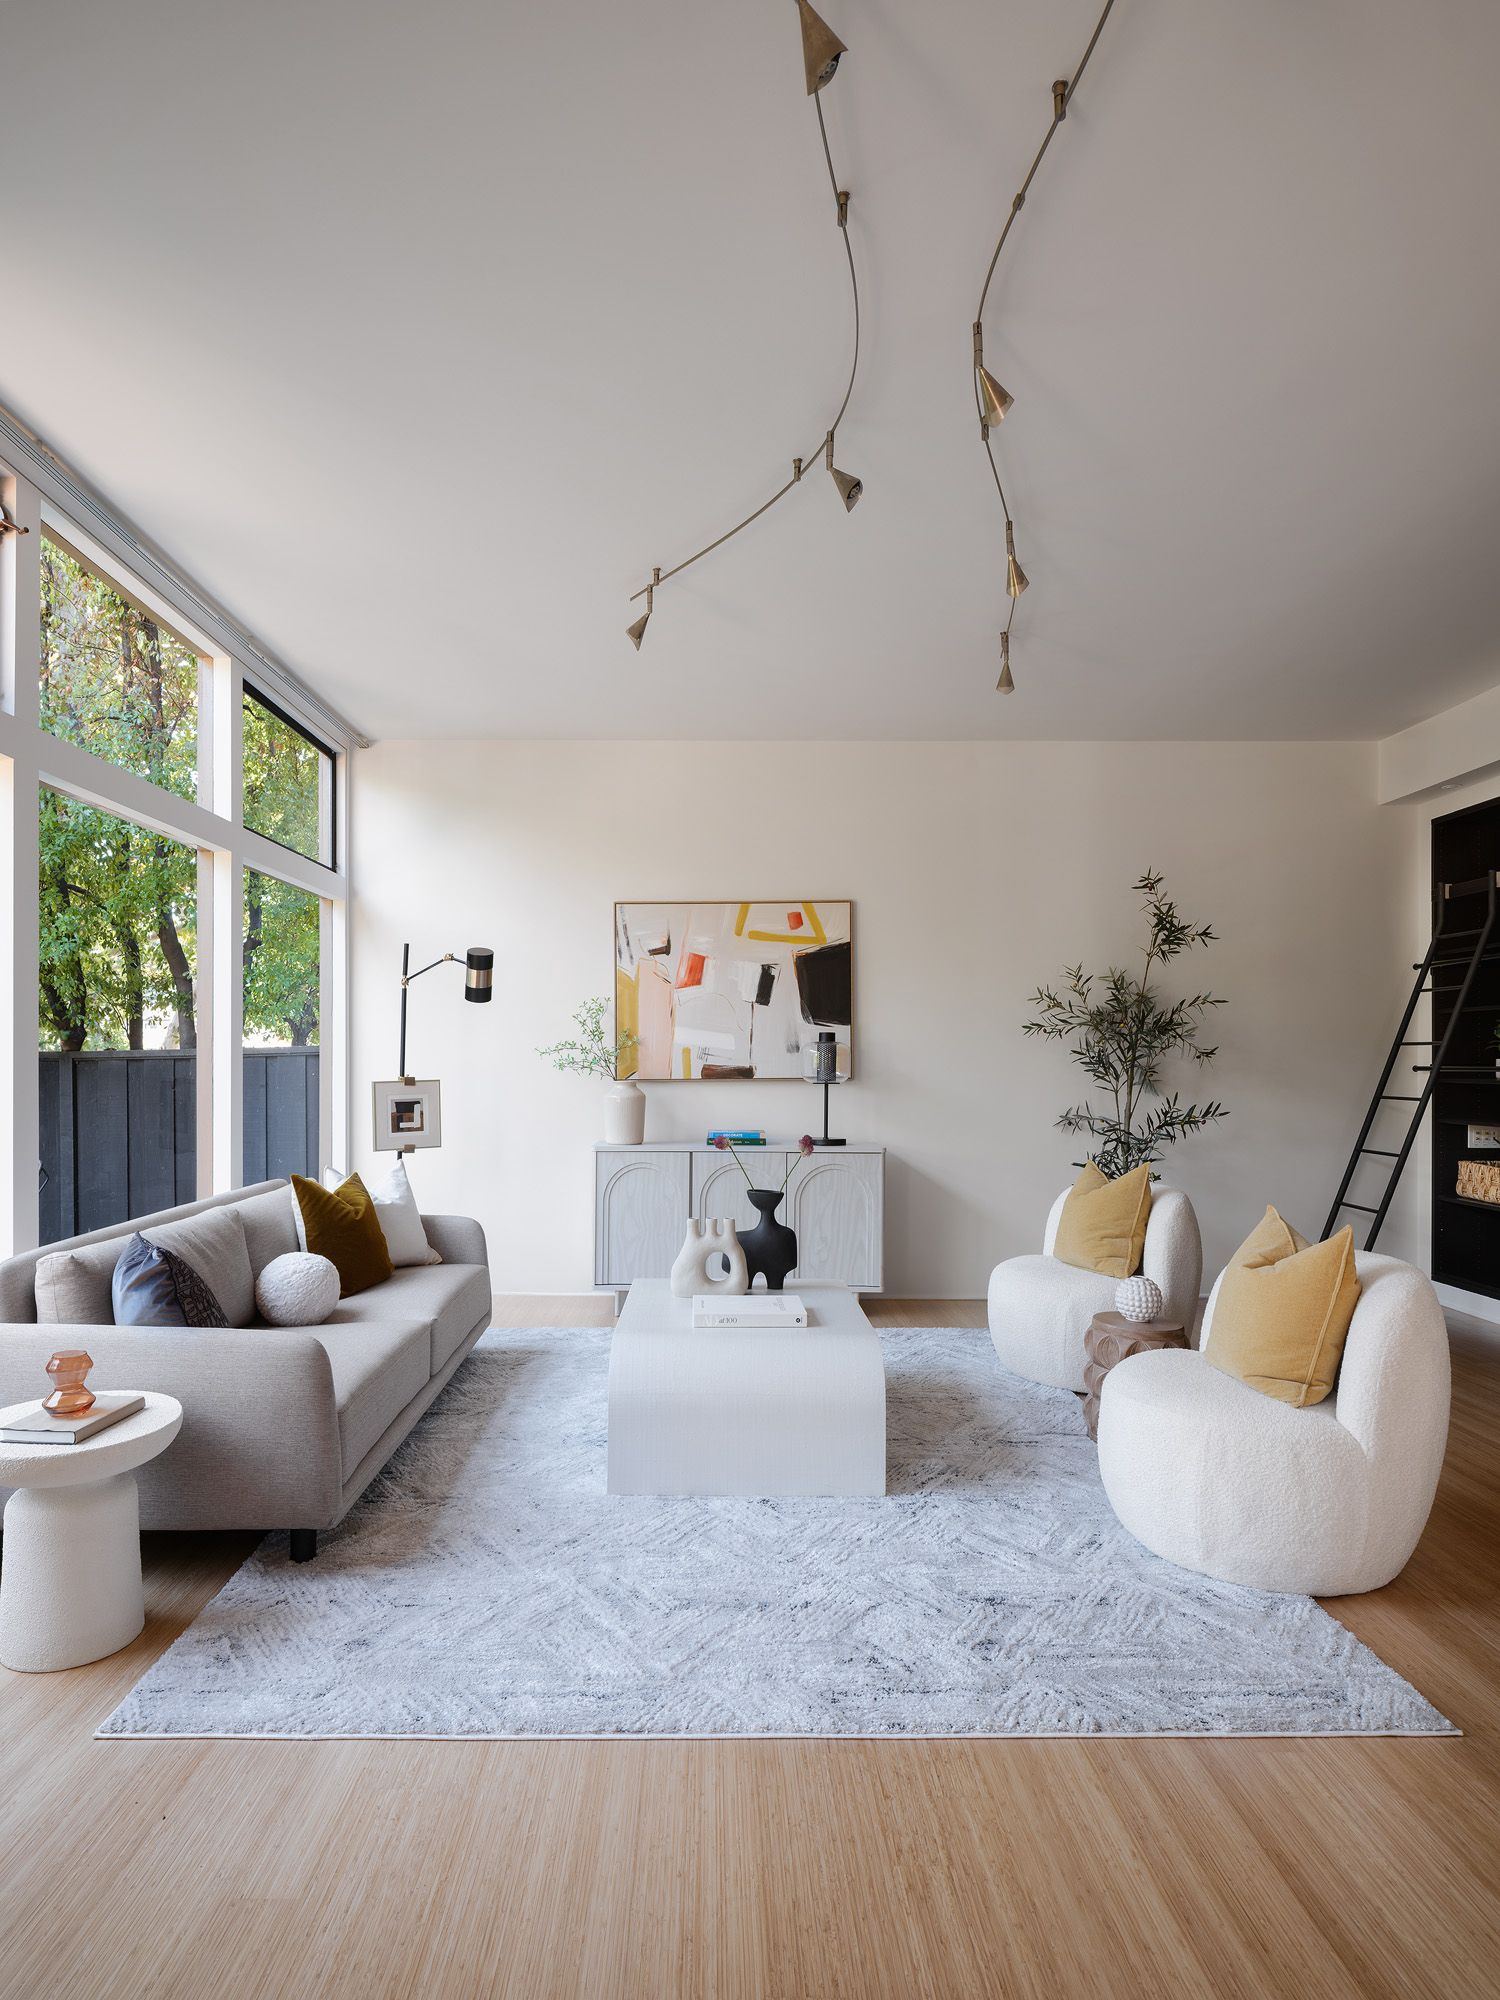
Once the scope is clear, the staging team develops the furniture and styling plan. Designers consider room dimensions, ceiling height, natural light, architecture, and likely camera angles. A narrow living room may need a compact sofa with open-leg chairs rather than deep upholstery. A large great room may require several distinct zones so the space does not read as an empty echo chamber.
This work happens largely behind the scenes. The team selects furniture, lighting, rugs, art, bedding, and accessories; confirms availability; creates pull lists; and organizes transportation. Editorial restraint matters here. A stone fireplace may need one substantial artwork, not a mantel crowded with small objects. A bedroom with filtered afternoon light may read better with tactile linen, pale oak, and a low-profile bench than with several decorative themes competing for attention.
Bay Area home staging also involves access planning. Narrow streets, limited parking, elevators, loading docks, stairs, gated entries, and homeowner association rules can shape the installation day. Sellers or agents should share access instructions early and reserve required loading areas or elevators. When a truck cannot park near the property, every sofa, table, and lamp takes longer to move inside.
This planning period commonly requires five to ten business days, depending on the property and scope. Shorter timelines may be possible when the home is ready and suitable inventory is available, but rushing selection can reduce design coherence. A fast installation only works when the decisions before it are settled.
Installation Day: Furniture First, Styling Second
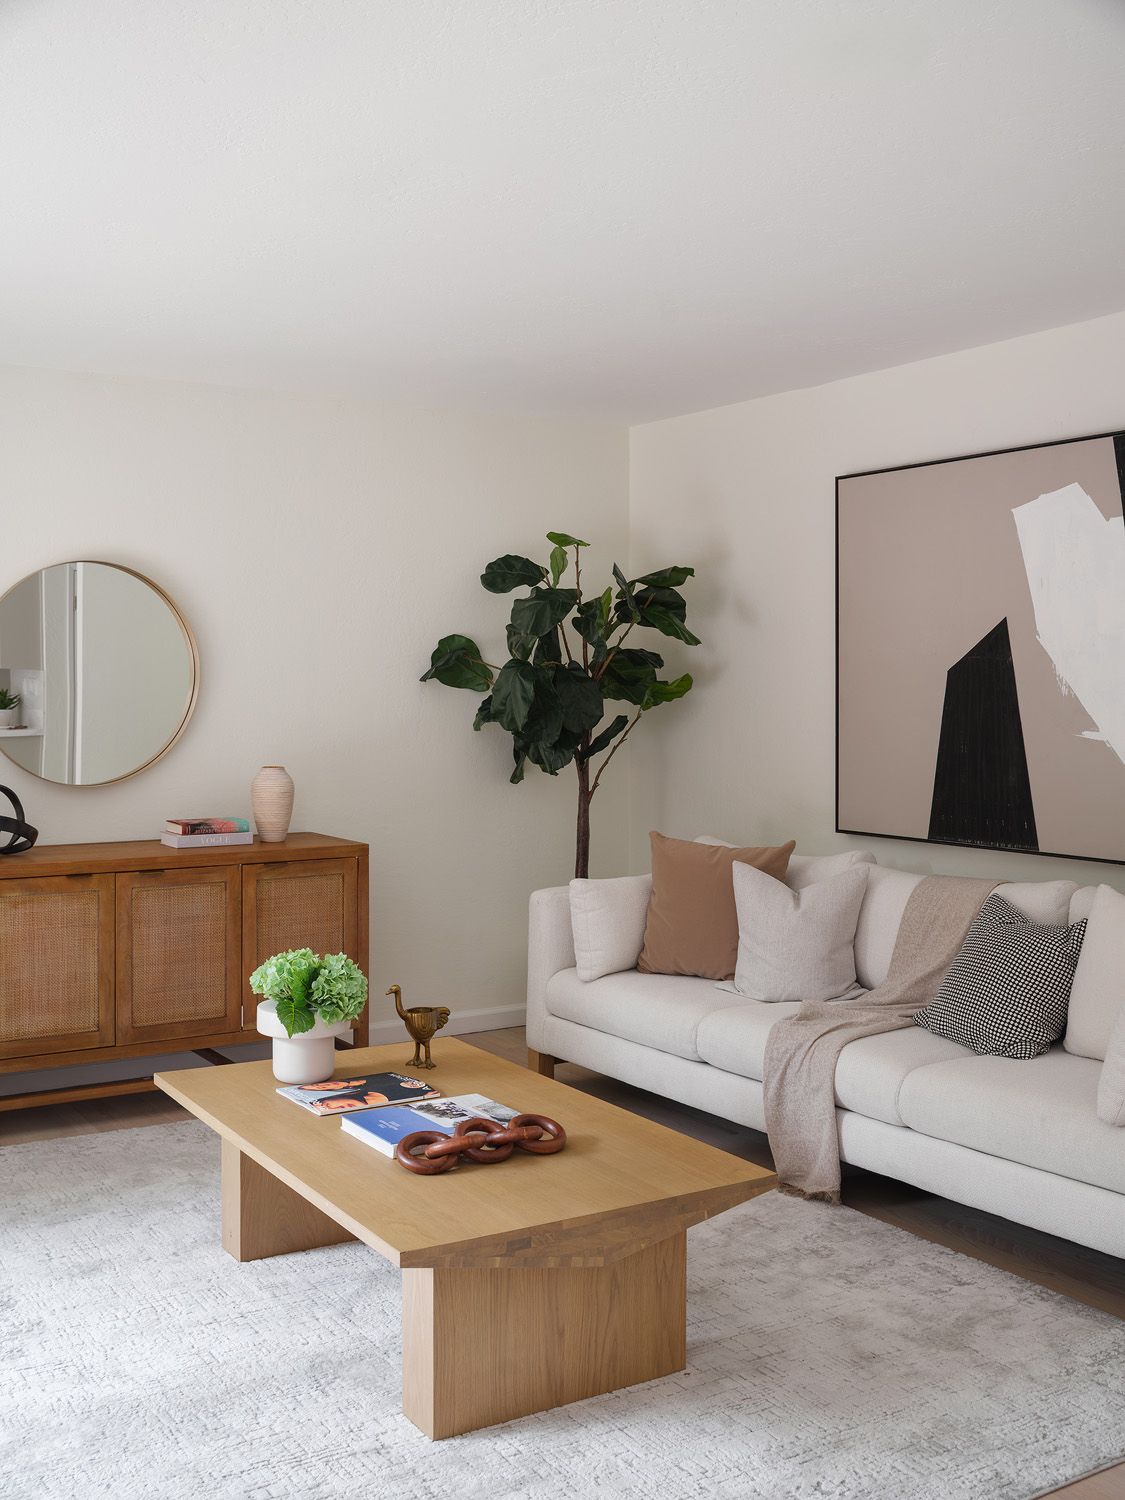
Most standard installations take one full day, while larger homes may need two days or a phased schedule. The exact duration depends on square footage, the number of staged rooms, access, stairs, and how much assembly or artwork placement the design requires. An occupied staging installation may also take longer if existing furniture must be repositioned carefully rather than simply working with empty rooms.
The order matters. The crew brings in rugs and large furniture first, then lamps, artwork, bedding, and smaller accessories. Designers check clearances as the rooms take shape. Can someone pull out the dining chairs without hitting a wall? Does the bed leave a comfortable passage to the window? Does the sofa sit correctly under the main ceiling fixture? These measurements affect both real movement and the spatial scale buyers see online.
Styling comes after the structure is right. A wool throw adds texture, a warm lamp balances cool window light, and a restrained stack of books gives the camera a clean focal point. These details should support the room rather than call attention to themselves. The objective is not decoration for its own sake. Buyers need to see the fireplace, the garden connection, the ceiling height, and the usable floor area.
Keep other work off the calendar during installation. Cleaners, repair crews, movers, and inspectors can block paths or bring dust into completed rooms. Give the staging crew clear access, working electricity, and a property that is ready to receive furniture.
The Day Before Photography: Final Touch-Ups
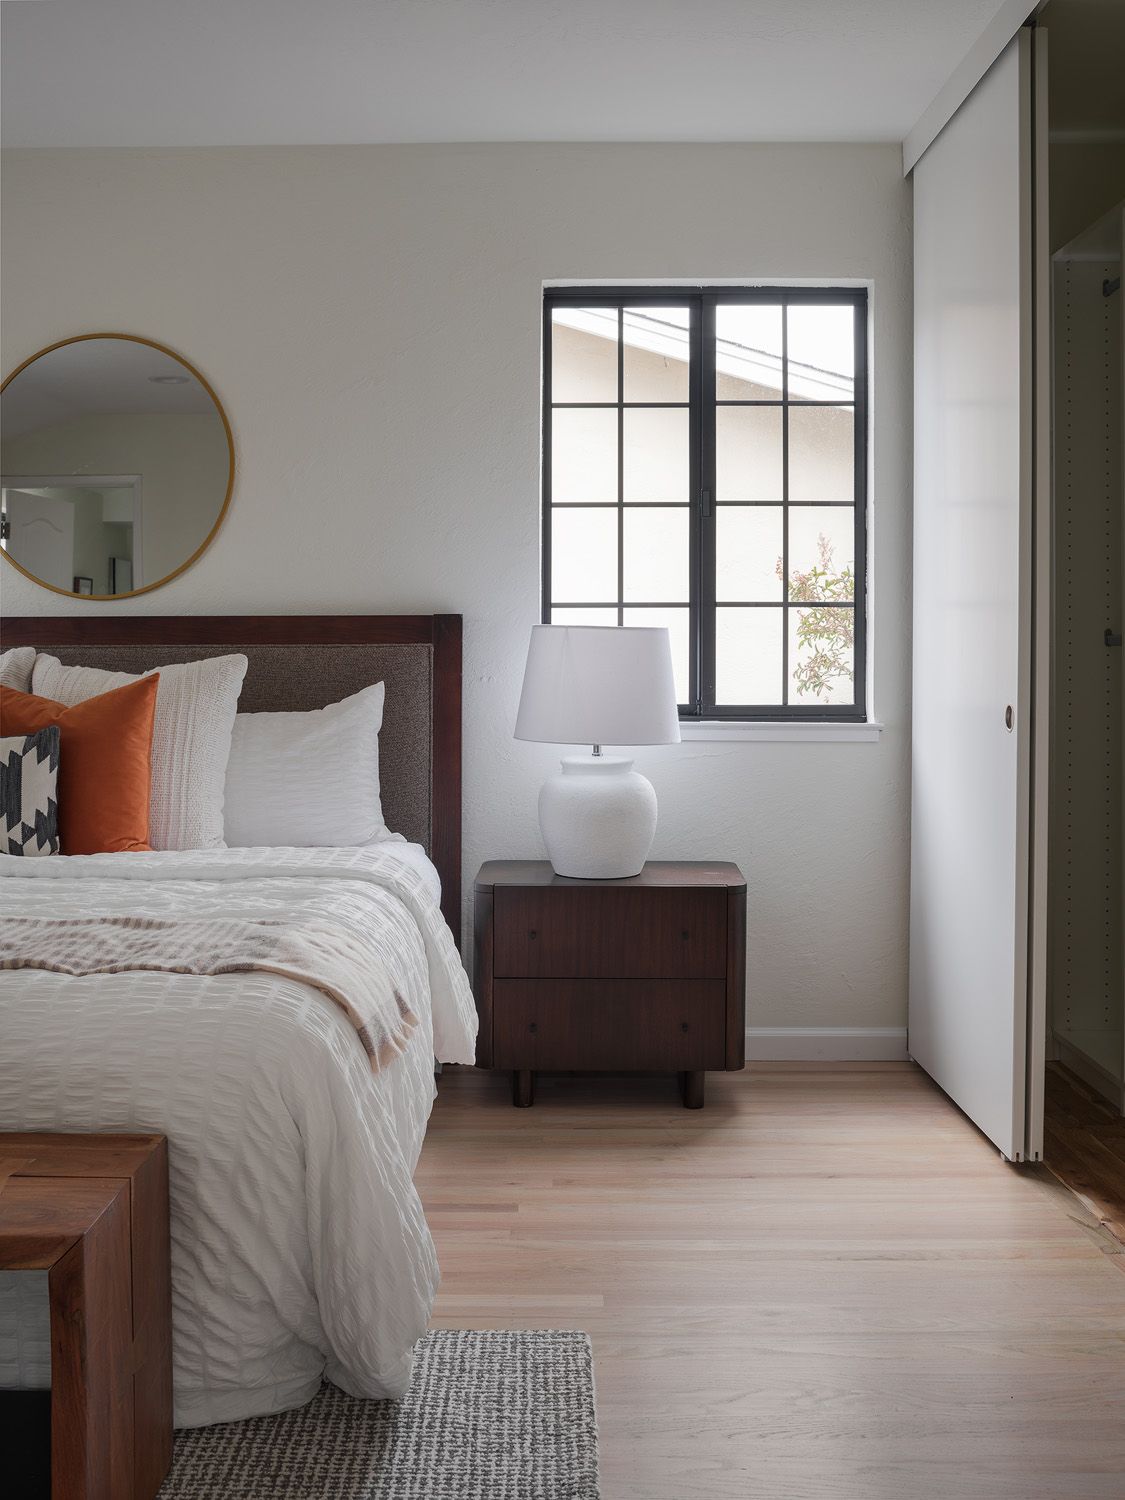
Leave time between installation and photography when the schedule allows. Even a completed room benefits from one final review in the actual photo light. Morning sun may expose fingerprints on a glass table. A dark corner may need a floor lamp. Bedding can settle overnight, and a rug edge may need to relax after being rolled in storage.
The final pass should address both styling and property condition. Straighten dining chairs, hide visible cords, test every lamp, smooth duvet covers, remove packaging, check reflective surfaces, and confirm that toilet lids and cabinet doors stay closed. Outside, clear hoses, bins, and loose garden tools from the primary views. Small distractions become surprisingly loud in a still image.
Coordinate the photographer’s arrival time with the home’s light. A west-facing room will not look the same at nine in the morning as it does later in the day. The stager and photographer may also have different needs, so confirm whether anyone will attend the shoot for last-minute adjustments. That final quiet hour is more valuable than forcing installation and photography into the same compressed afternoon.
Occupied, Vacant, and Luxury Homes Need Different Timelines
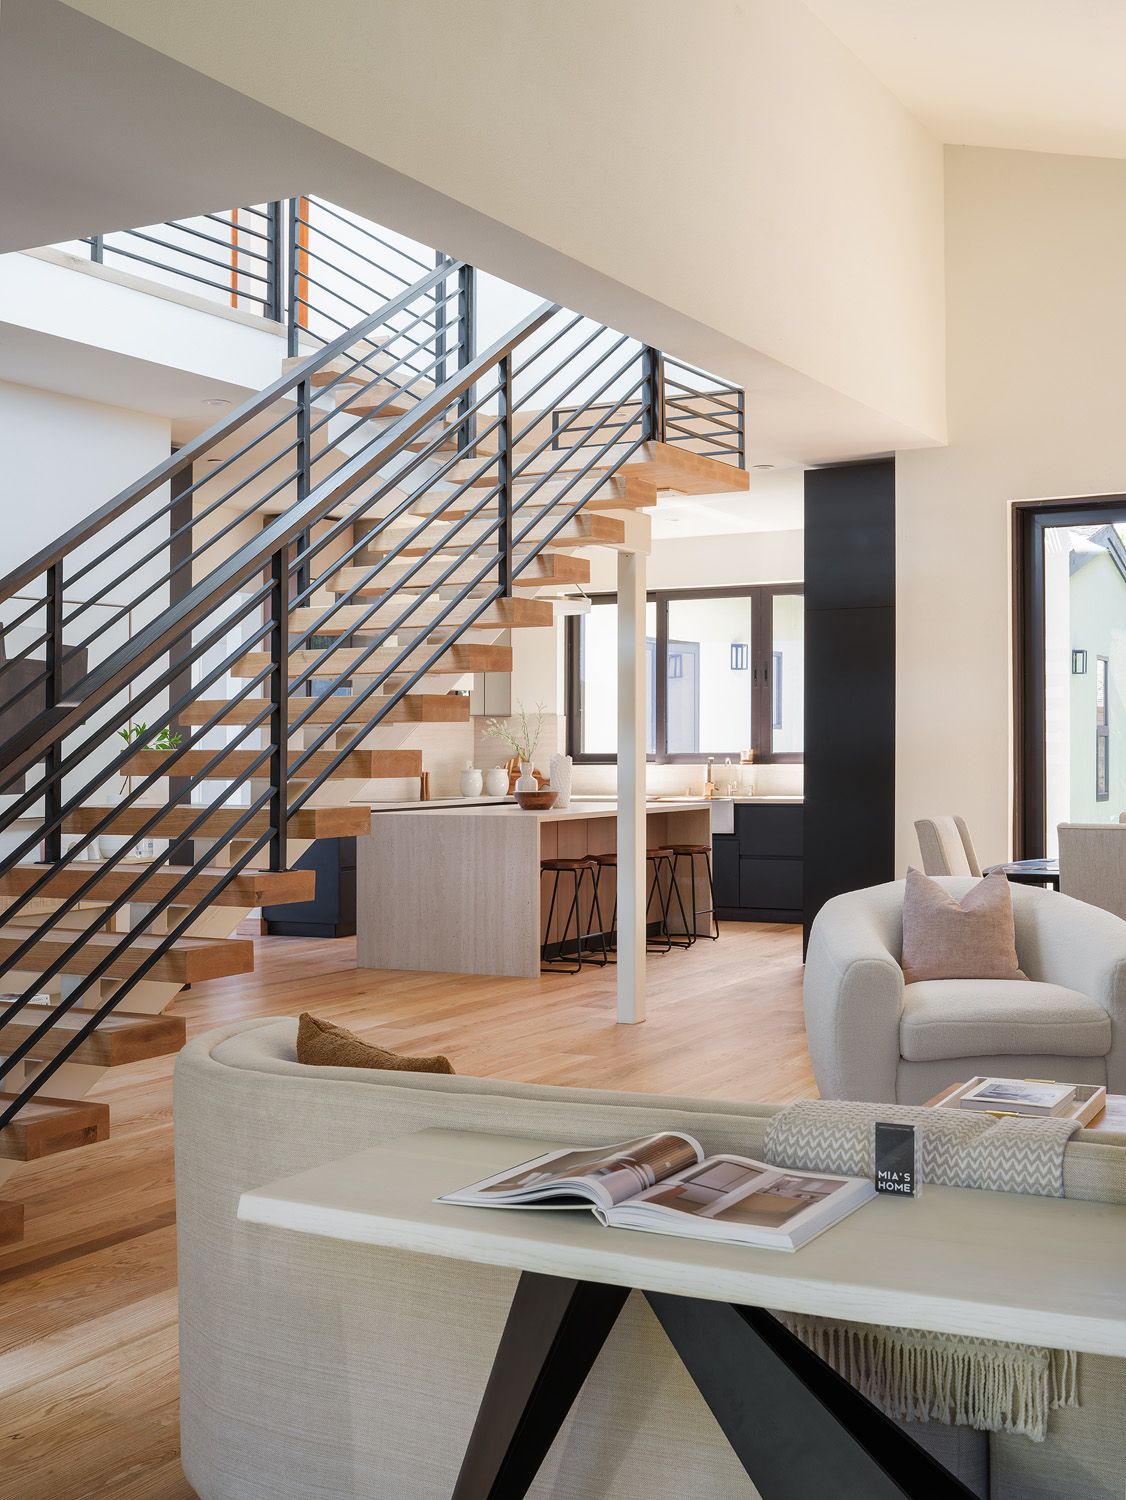
For an occupied home, plan roughly four to six weeks from consultation to photography. Sellers need time to make decisions, pack, move excess pieces, complete repairs, and maintain daily life while preparing the property. The staging itself may use a mix of the owner’s furniture and rented pieces. That hybrid approach requires careful measuring because every added chair or console must work with what remains.
For a vacant home that is clean and repair-free, one to three weeks may be workable. The shorter schedule depends on quick approvals, inventory availability, straightforward access, and a clearly defined room list. Vacant does not mean instant. A bare room magnifies scale errors: a rug that is too small, a sofa floating without an anchor, or lighting that leaves the corners gray.
For a large or luxury home, allow about four to eight weeks when possible. More rooms create more design decisions, and generous architecture needs furniture with the right visual weight. Large-scale art, long dining tables, multiple seating areas, outdoor spaces, and specialty access can extend both planning and installation. The best result often comes from staging fewer spaces with clarity rather than scattering generic furniture across every room.
If your schedule is already tight, share the photography date, property condition, occupancy status, and priority rooms during the first conversation. A staging team can then identify what is feasible and where to simplify. You might stage the main living areas and primary bedroom while leaving a secondary utility room empty, or use a consultation to improve an occupied home without a full furniture installation.
Before choosing the scope, review examples in our portfolio to see how furniture scale and visual editing change across different properties. You can also compare our home staging services, including physical staging and consultation support. The right timeline is not the fastest one on paper. It is the shortest schedule that still leaves each trade enough room to complete its work cleanly.
Frequently Asked Questions
- How long does home staging take from consultation to photography?
- A typical planning window is about two to four weeks, although occupied homes may need four to six weeks for packing, repairs, cleaning, and furniture editing. Large or luxury properties may require additional planning and installation time.
- How long does the furniture installation take?
- Many standard installations take one full day. Larger homes, difficult access, occupied properties, or projects with extensive artwork and multiple living areas may require two days or a phased installation.
- Can staging and listing photography happen on the same day?
- They can, but separate days are usually more practical. Time between installation and photography allows rugs to settle, bedding to be adjusted, surfaces to be cleaned, lighting to be checked, and rooms to be reviewed in the photographer’s actual light.
- Does a vacant home take less time to stage?
- Often, yes, especially when repairs and cleaning are complete. A vacant property may still need one to three weeks for design planning, inventory selection, access coordination, delivery, installation, and final styling.
- What can delay a Bay Area home staging timeline?
- Common delays include unfinished repairs, late cleaning, limited parking, elevator reservations, narrow access, furniture availability, slow approvals, and other crews working inside the property during installation.


